- Overview
- Step 1: Open Anypoint Exchange
- Step 2: Explore the Product API
- Step 3: Explore the Order APIs
- Step 4: Explore the Notification API
- Step 5: Explore the Customer API
- Summary
Lab 4: (Optional) Explore Exchange for Complete System, Process and Experience APIs
Overview
Let’s briefly explore Anypoint Exchange and look at some of the assets that were used within the Omni Channel API.
Anypoint Exchange is a discovery interface (UI and API) where you can find Anypoint Connectors, Templates, Examples, APIs, API Fragments and custom assets that help make the adoption of the Anypoint Platform easier and faster for you and your teams.
Anypoint Exchange provides publicly official MuleSoft content that you can access using Anypoint Studio or from the MuleSoft website as soon as it is published. You can also publish private content to it through your Anypoint Platform organization that is shared only among the members of your organization.
Step 1: Open Anypoint Exchange
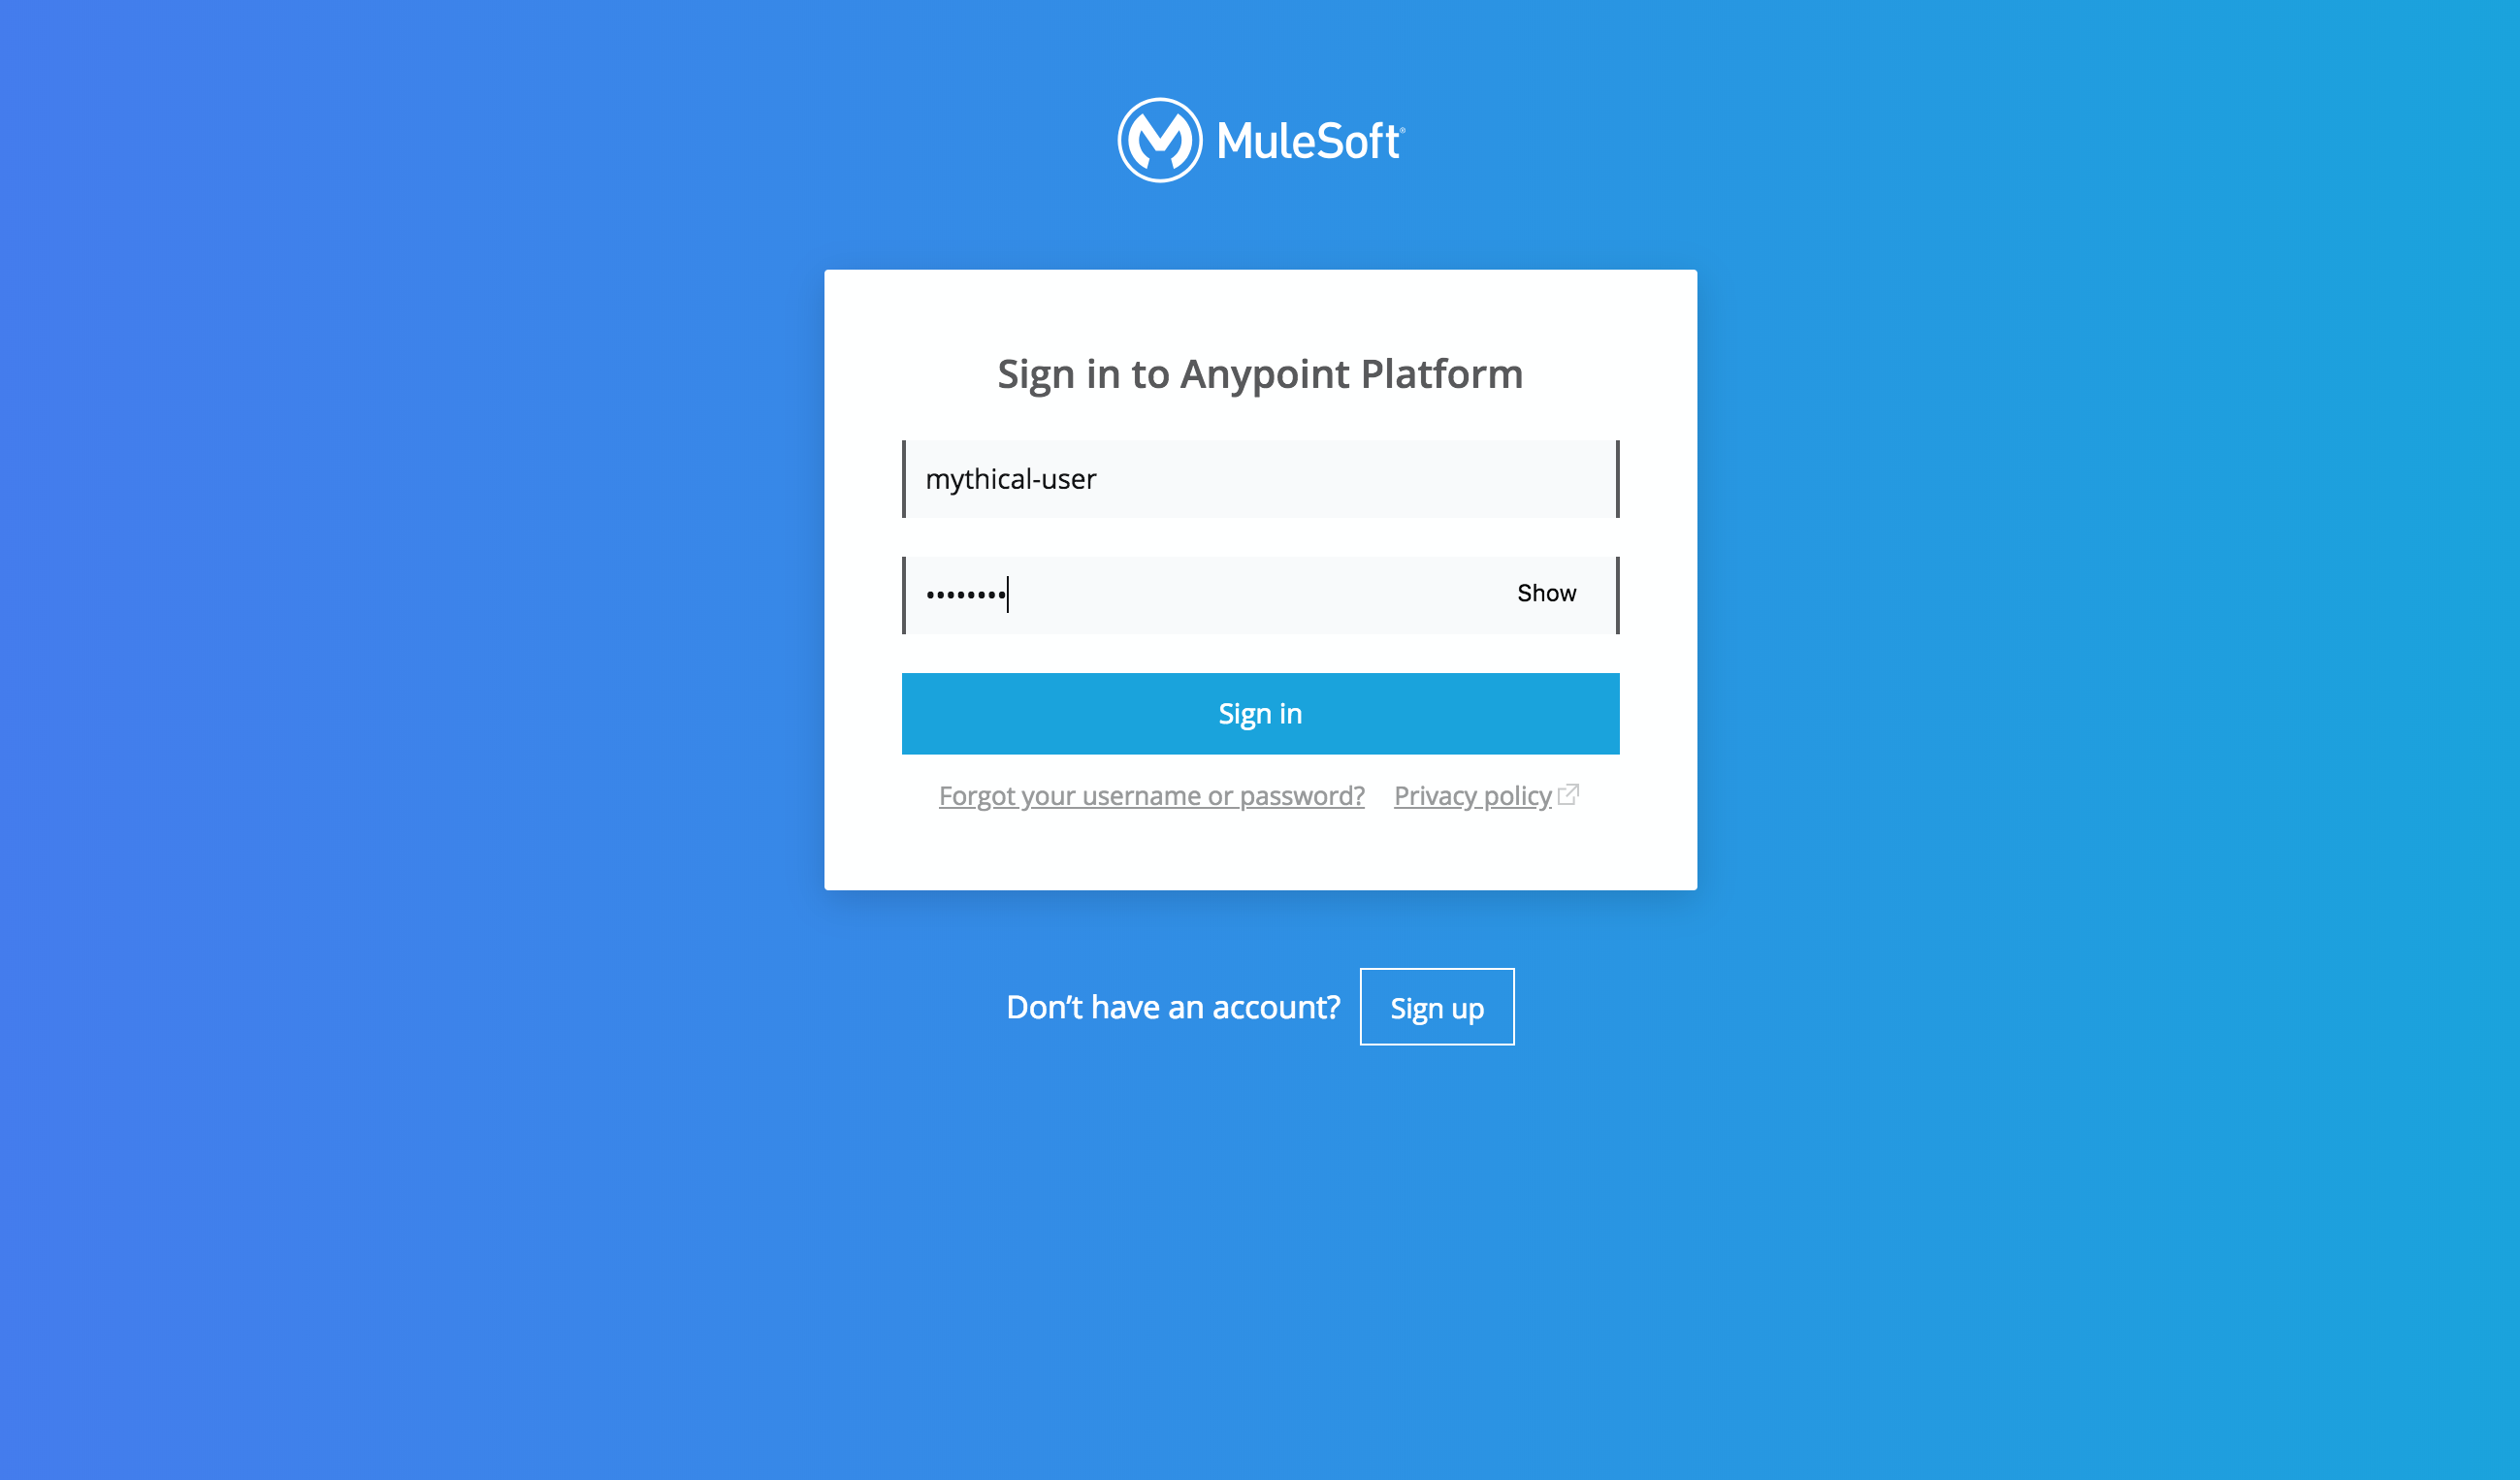
Go to Anypoint Platform
If you are not logged in, enter your credentials into the Username and Password fields.
You should see the following landing page once you are logged in to Anypoint Platform.
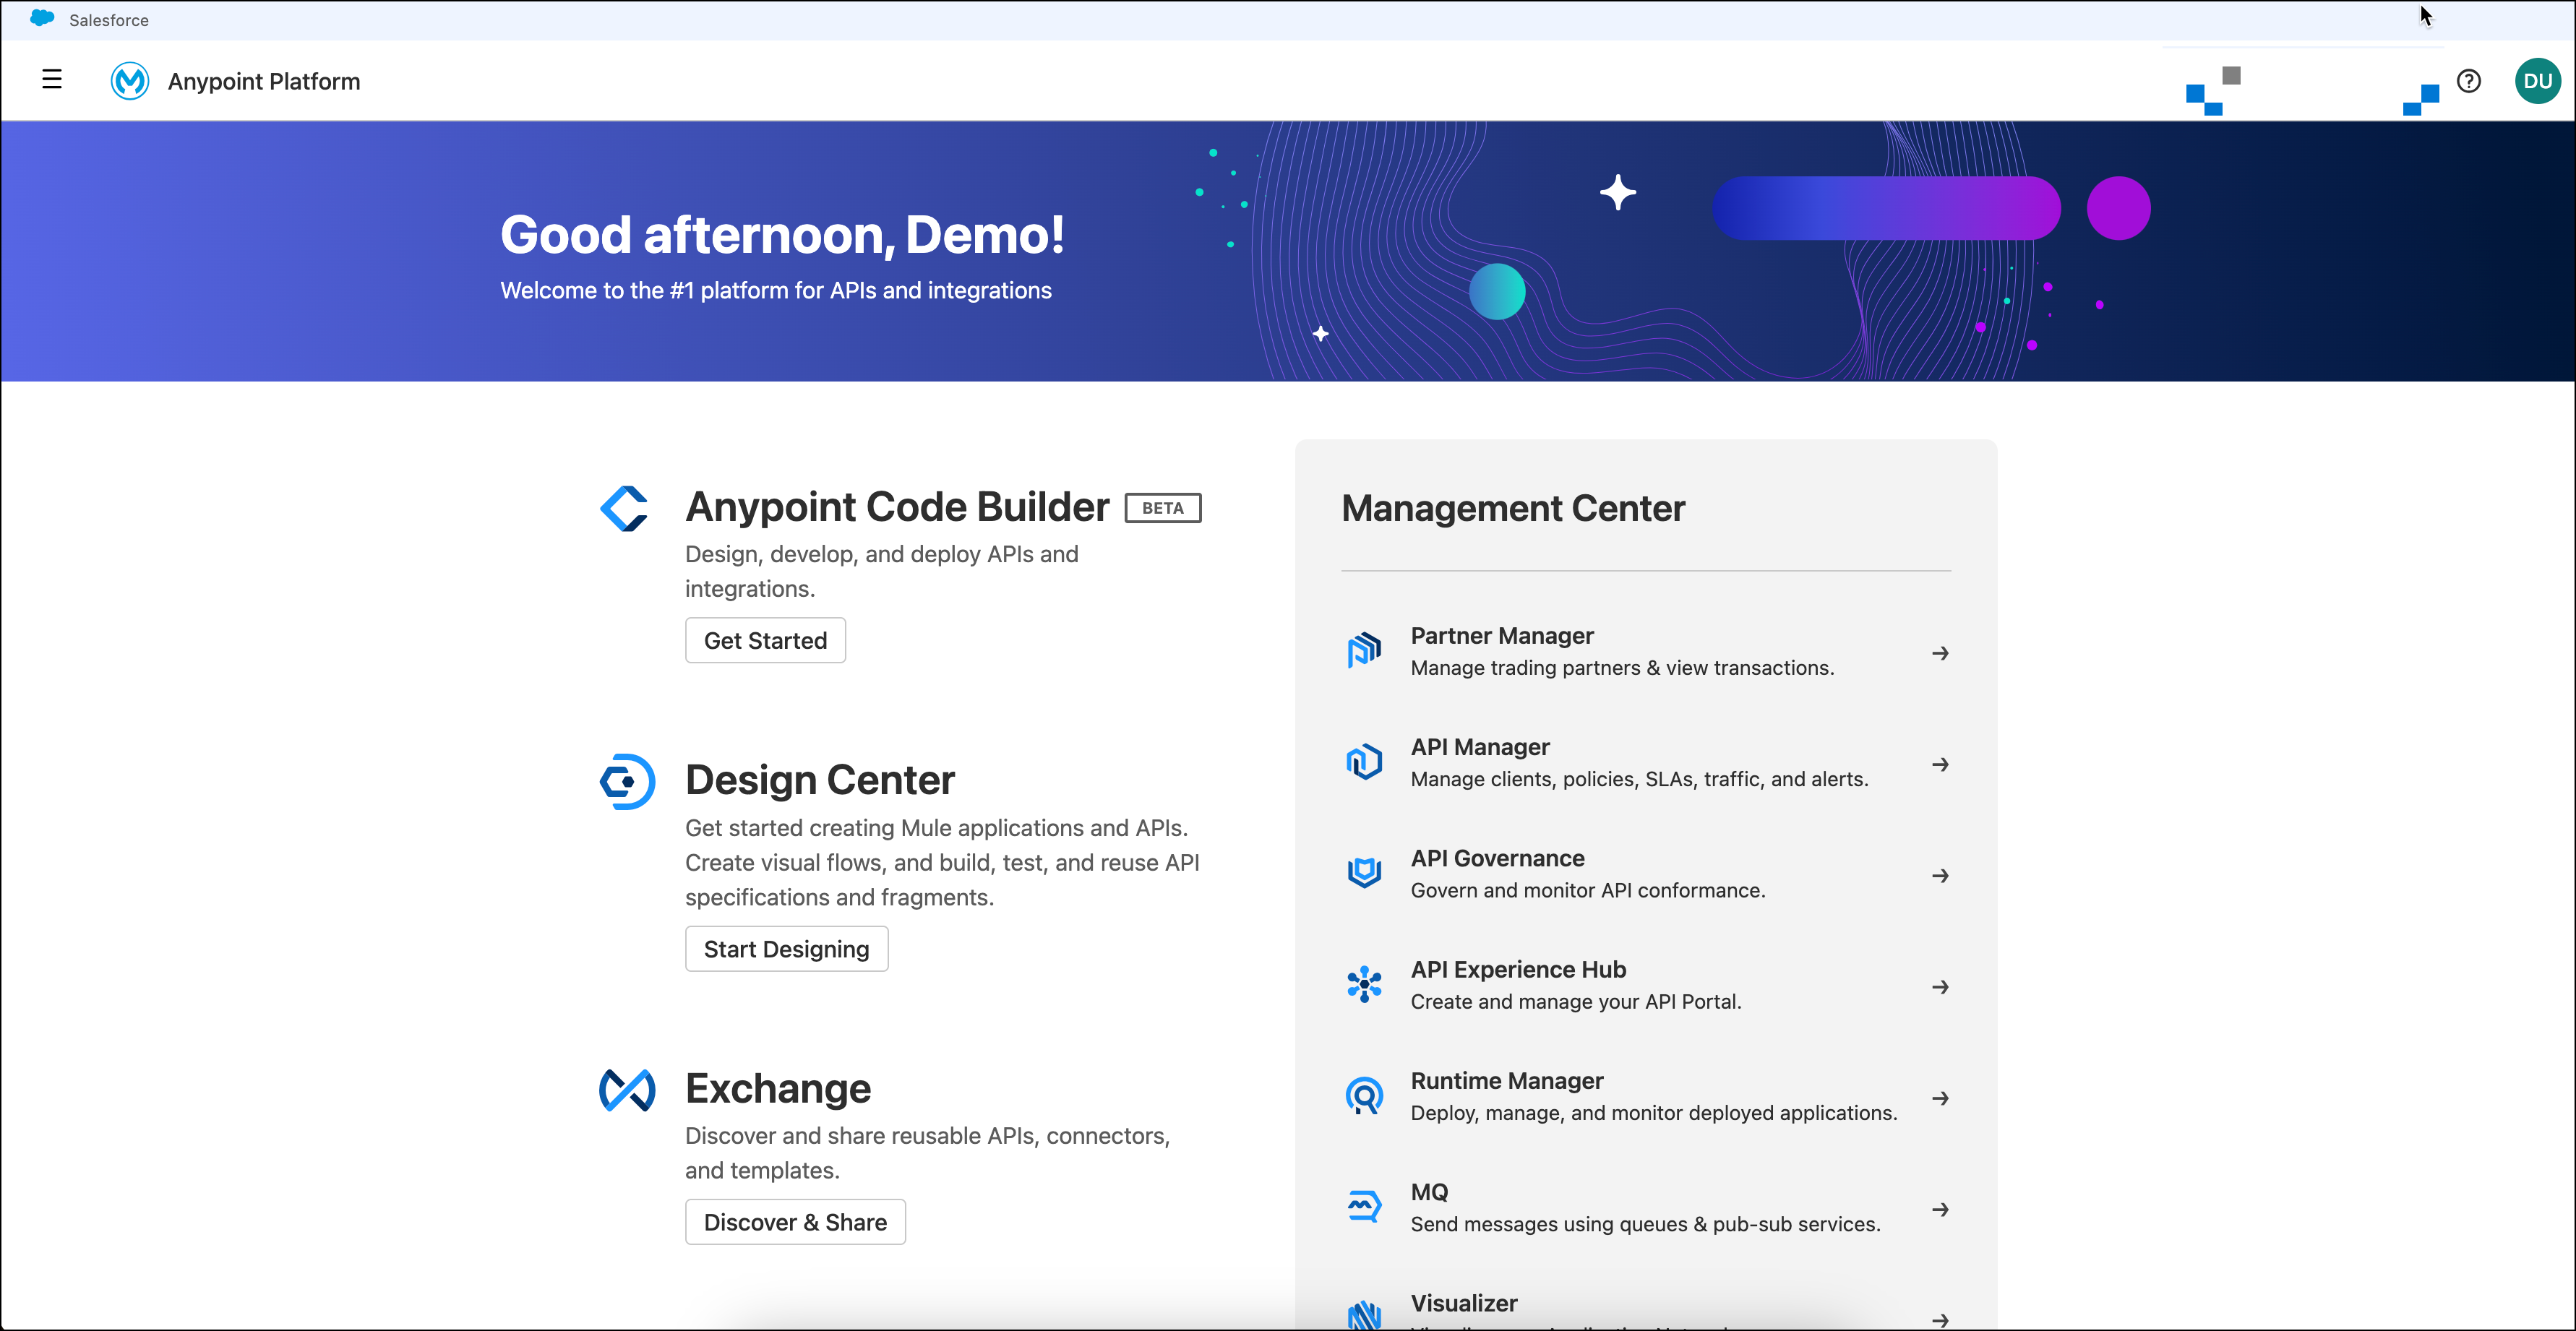
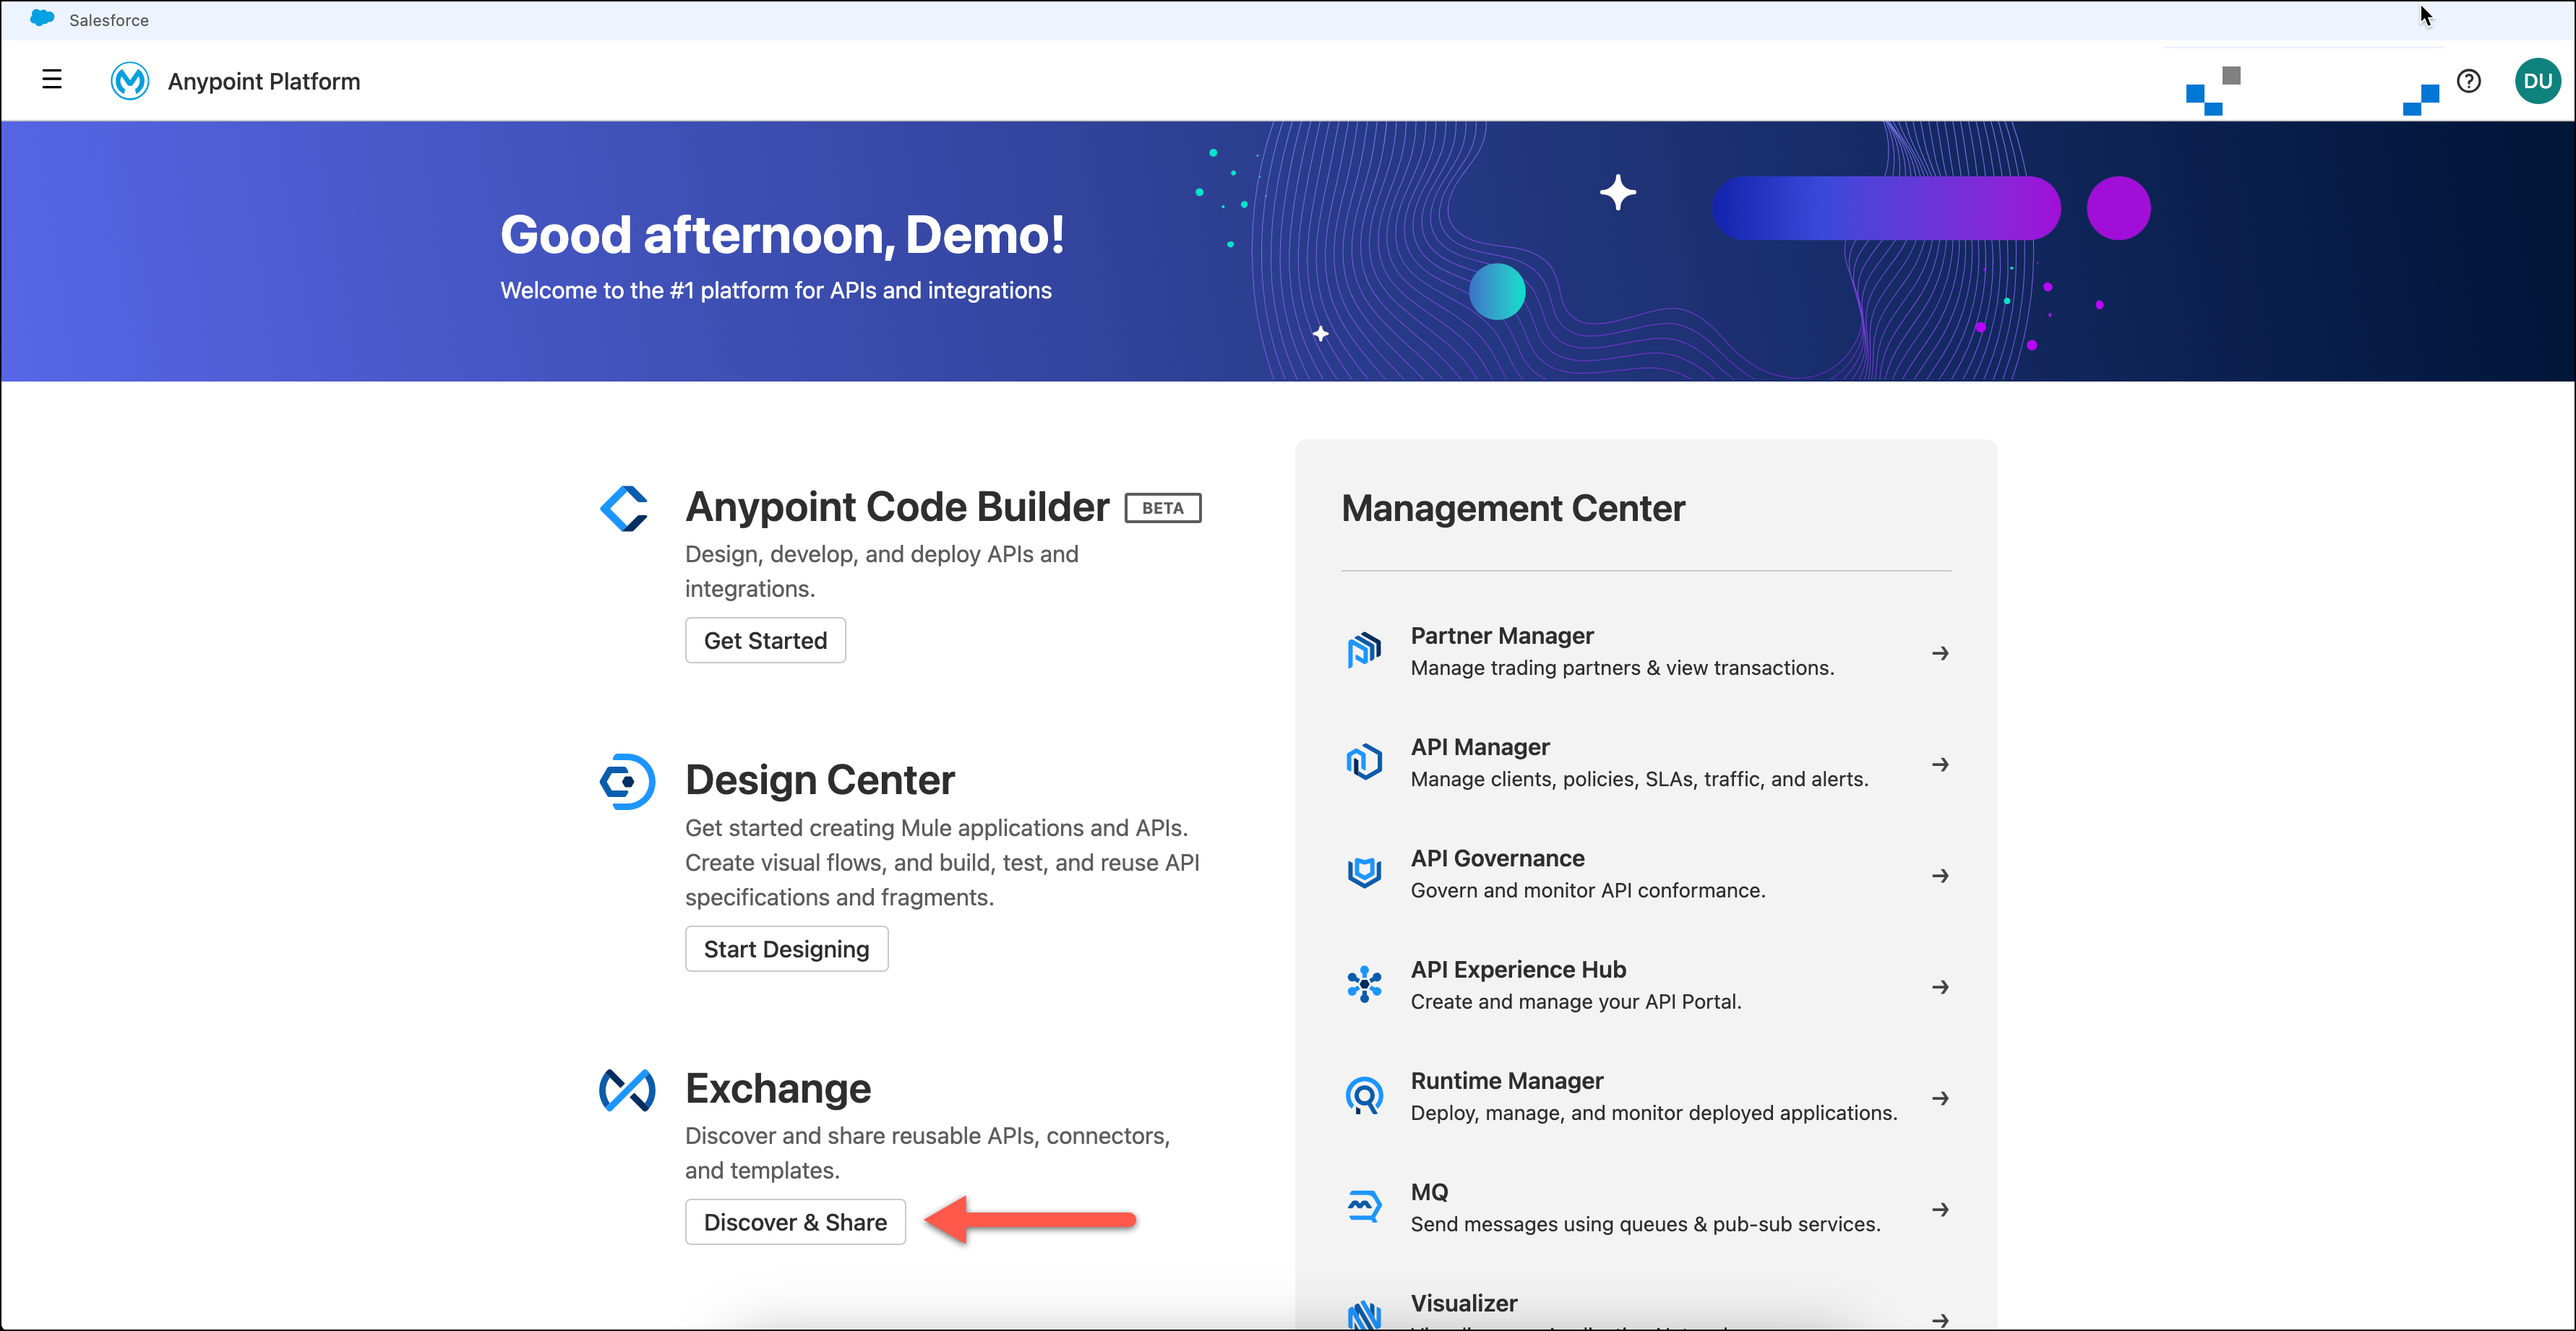
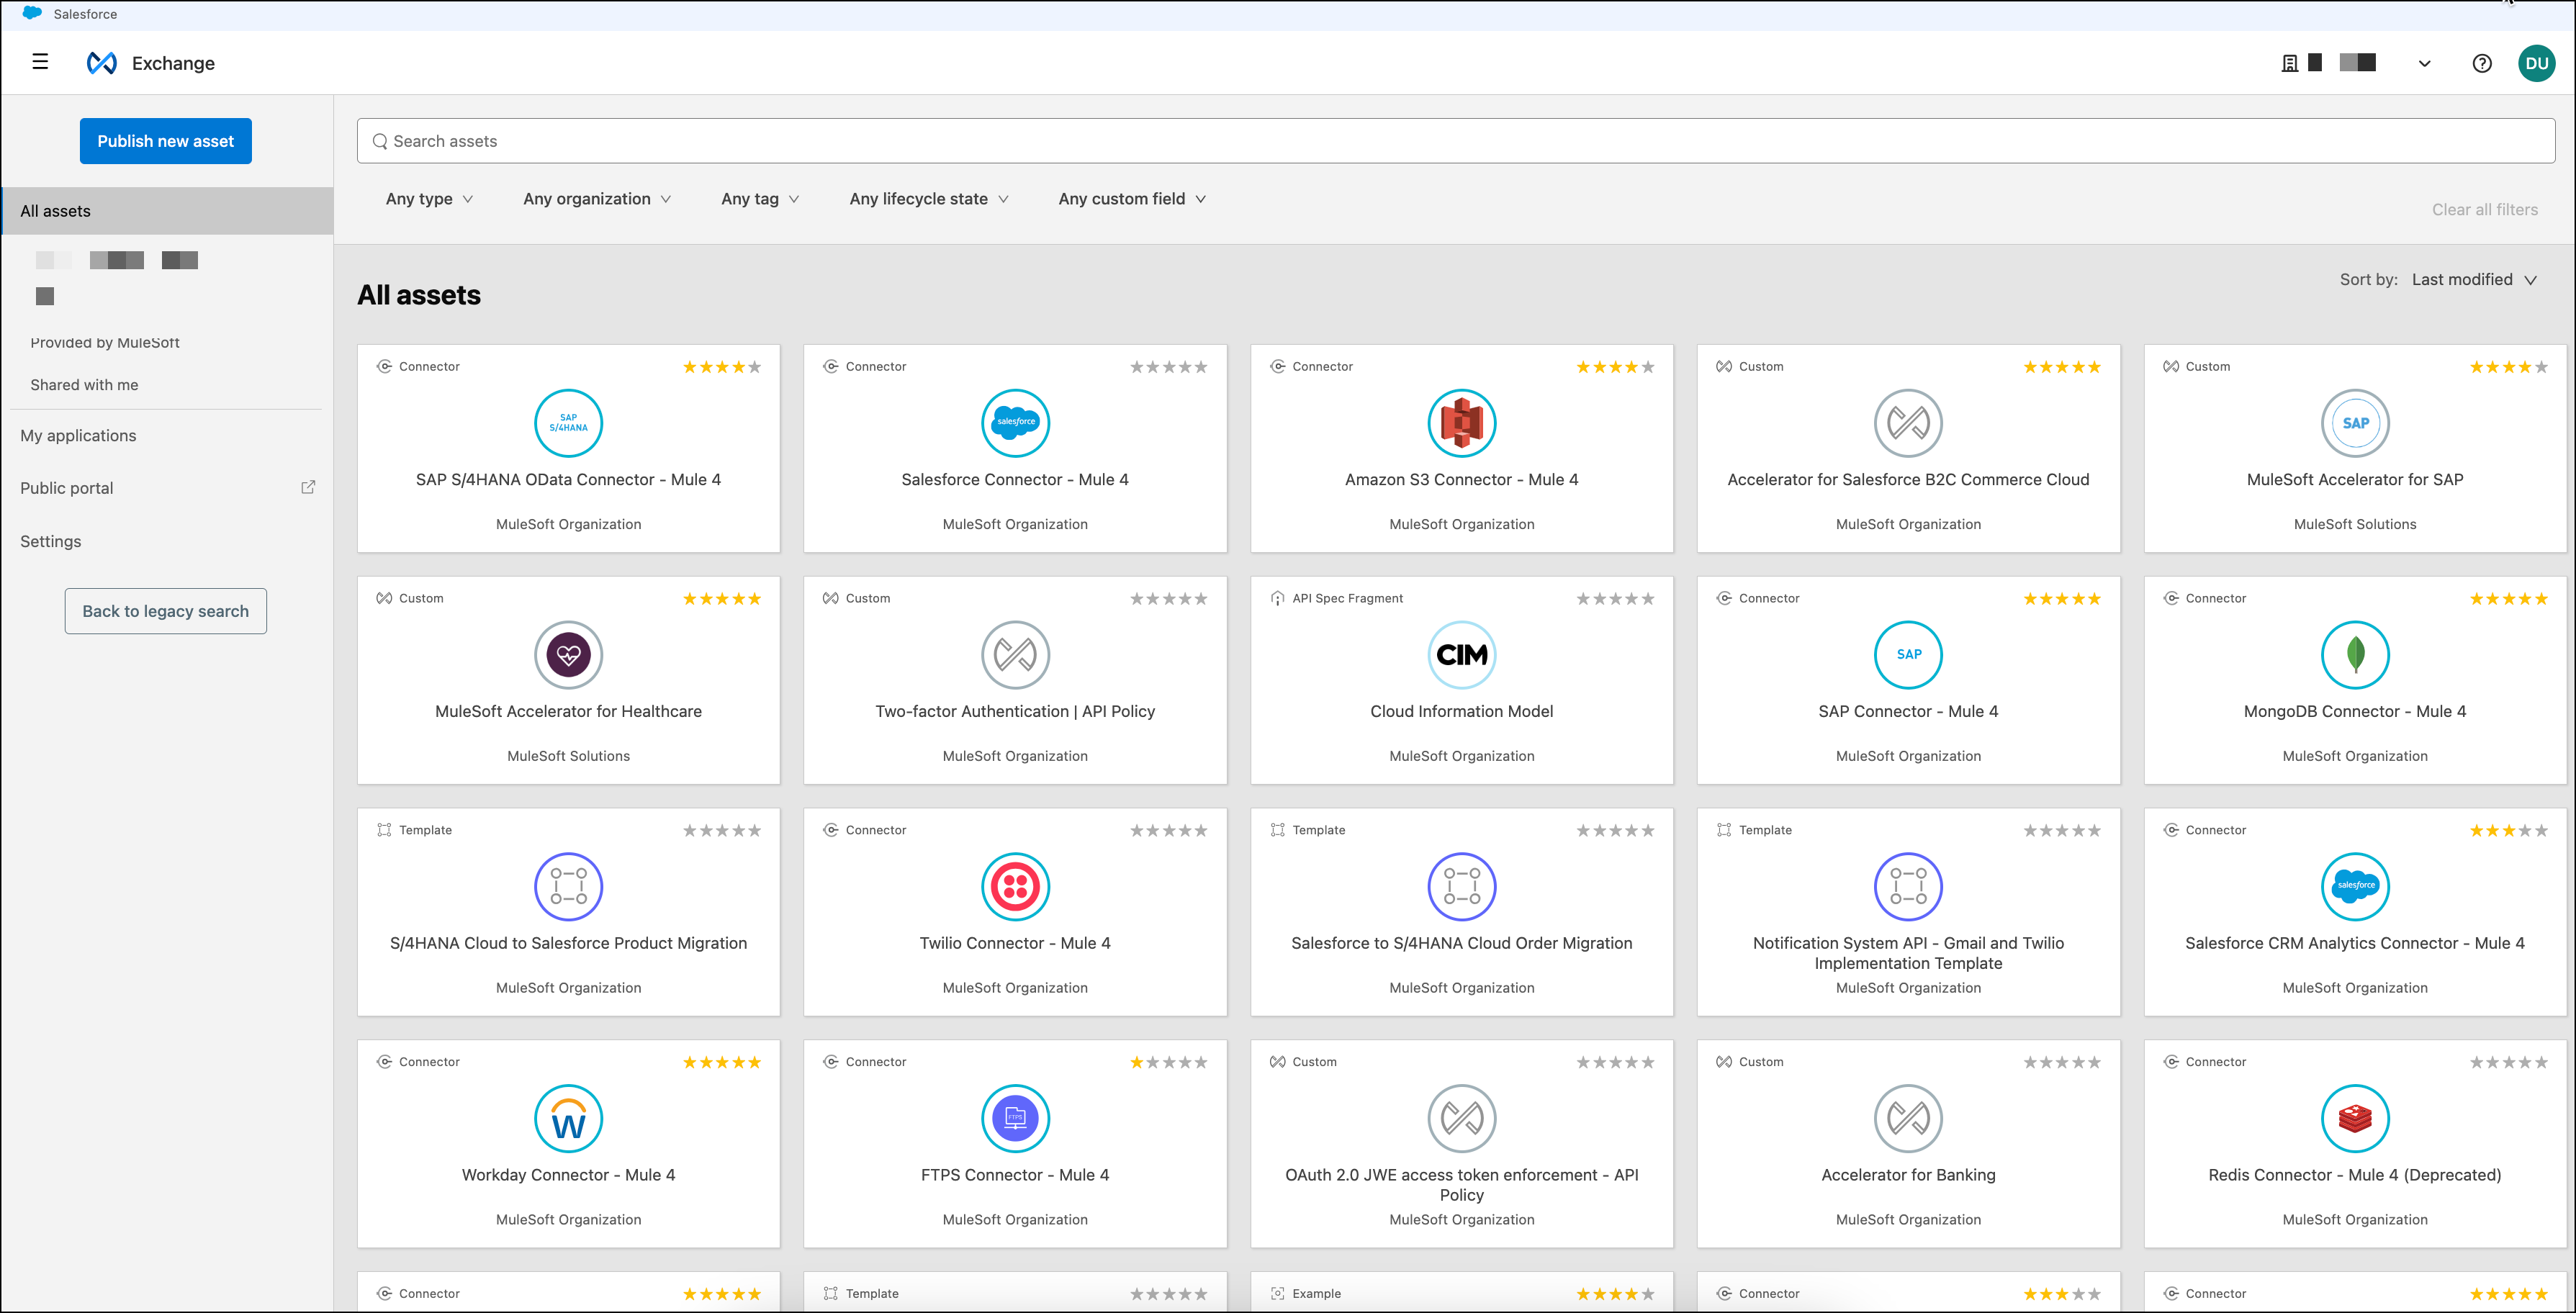
Click on the button labeled “Exchange”
Anypoint Exchange provides a searchable listing of APIs, connectors, templates, and examples. Let’s go and explore the assets for your organization now. Make sure you have your organization selected in the left menu to focus the overview to only assets of this organization.
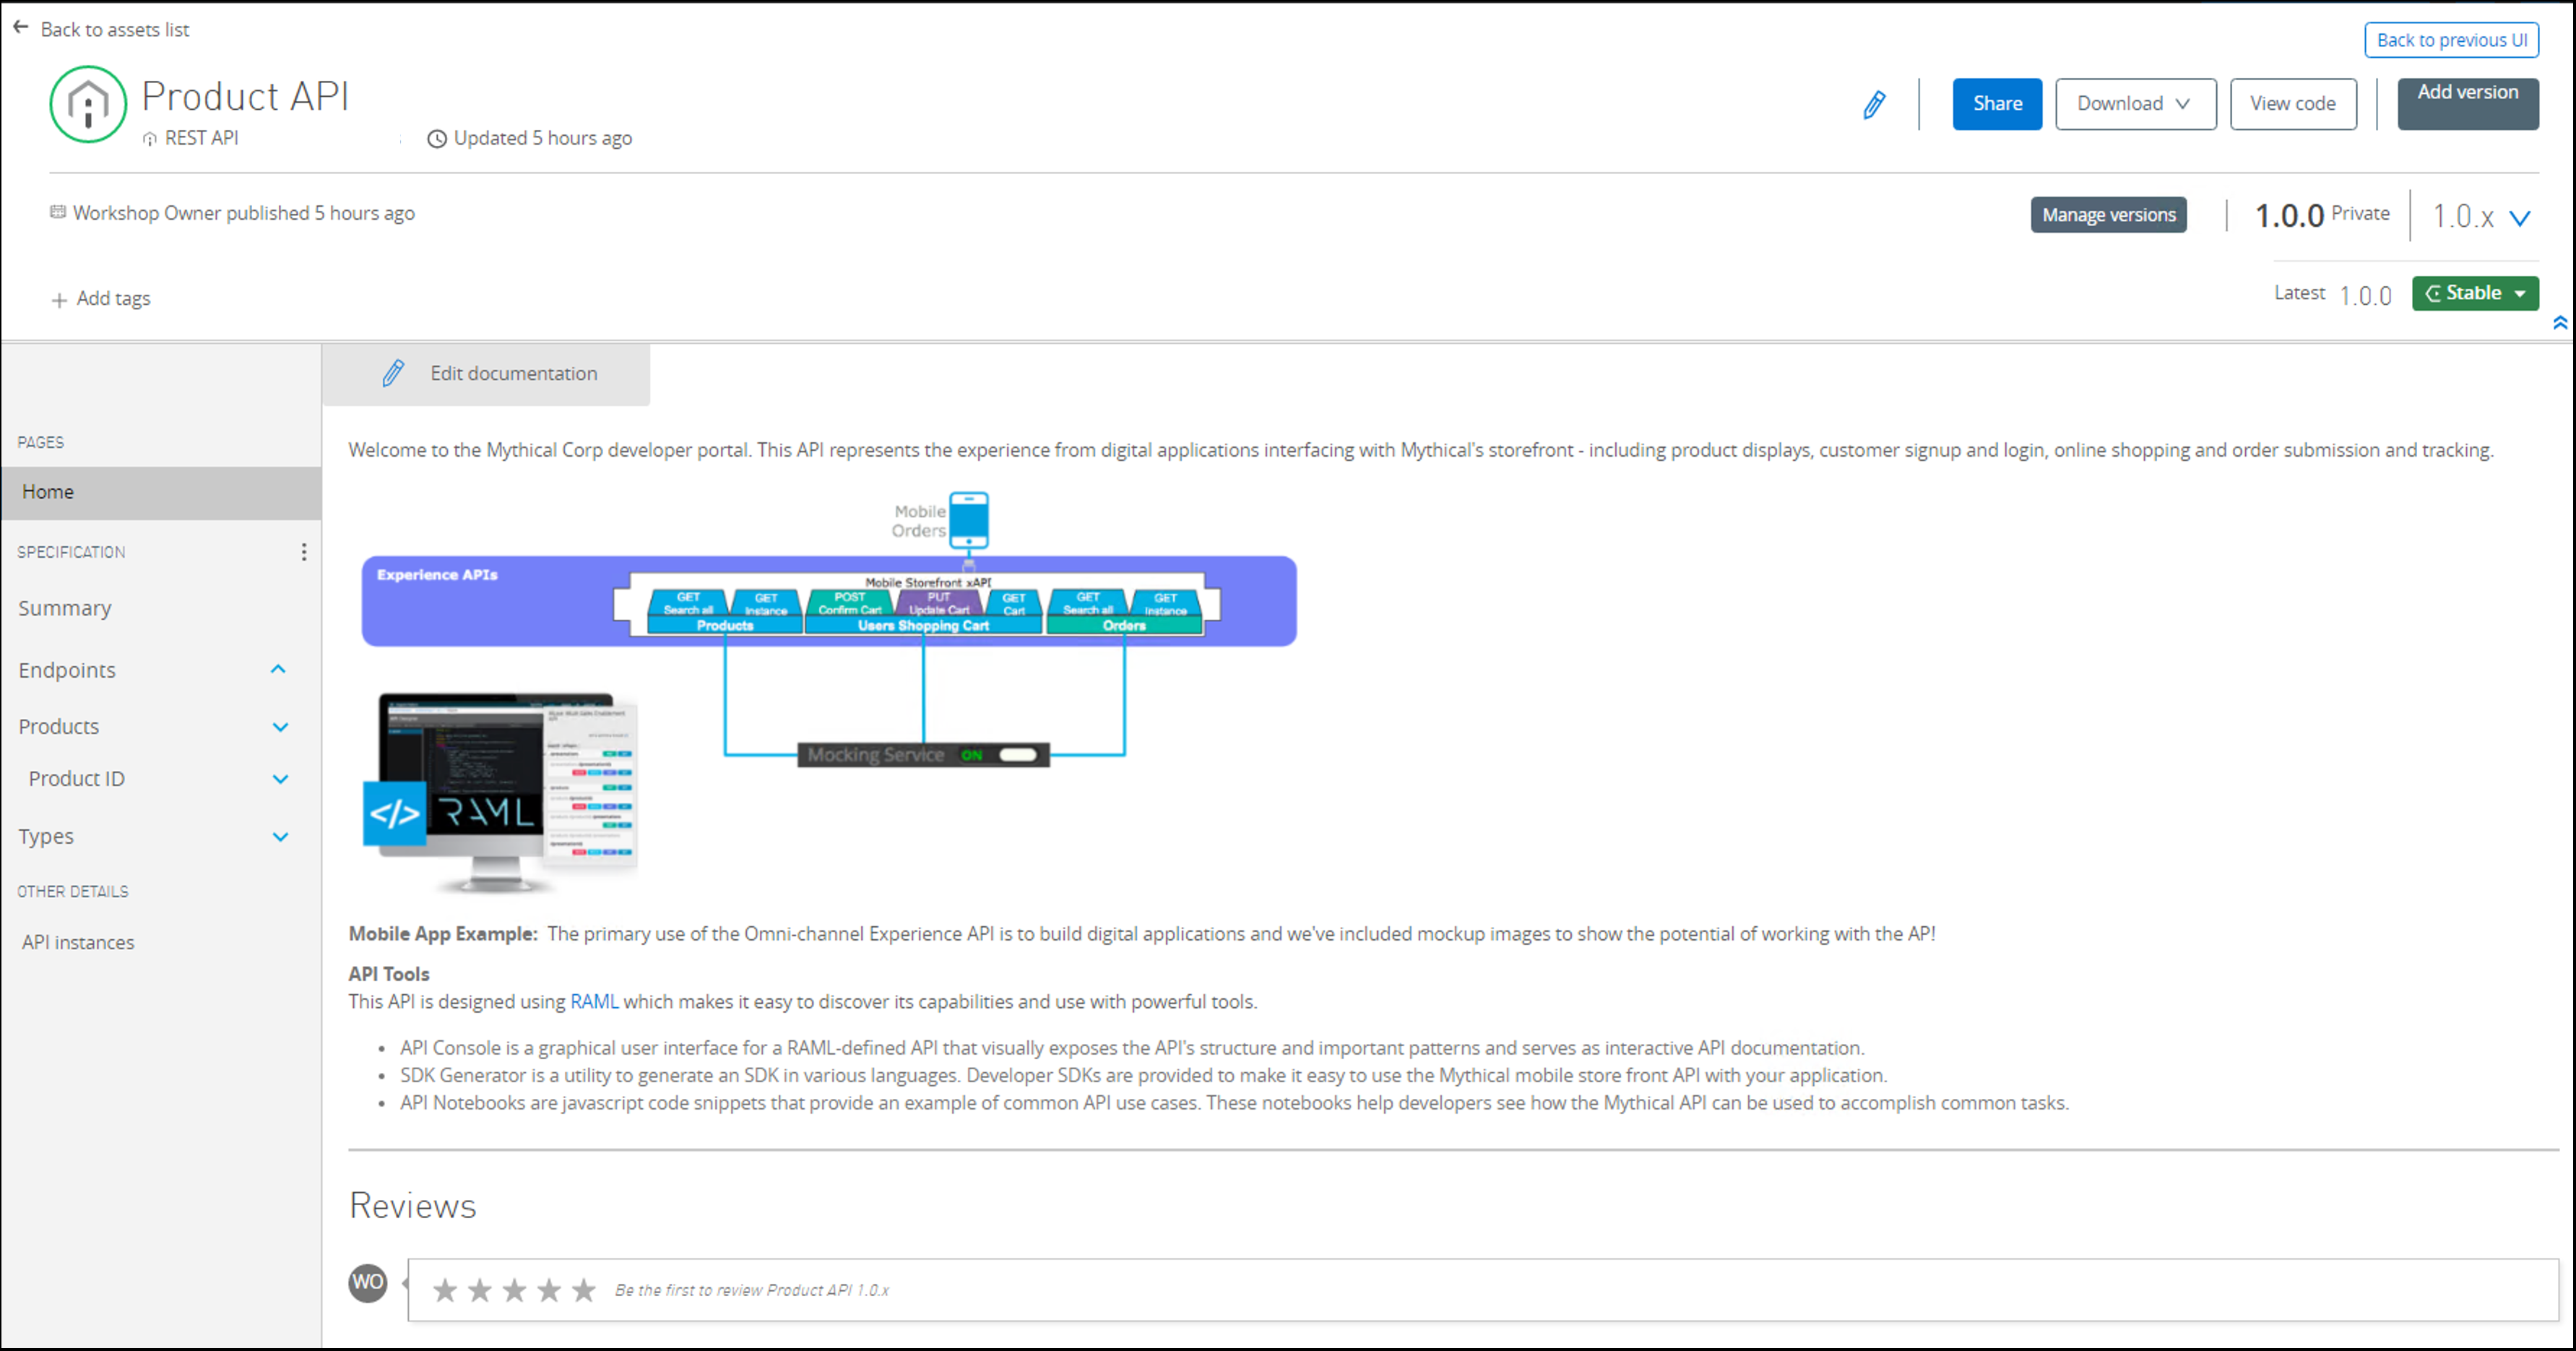
Step 2: Explore the Product API
The Product API provides product information for Mythical’s storefront application. Let’s search the Exchange and explore the API.
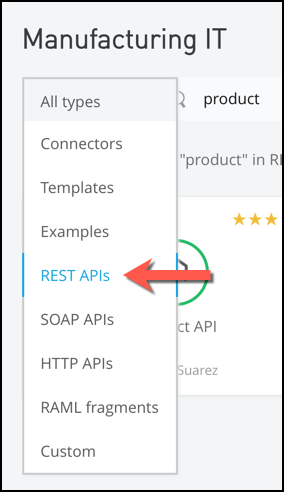
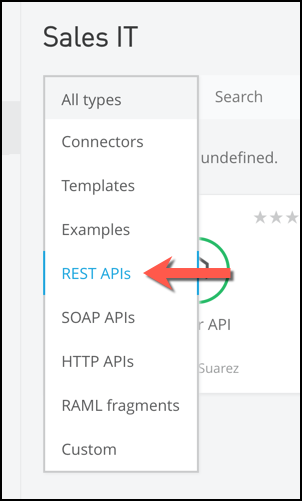
Click on All types and change the filter to REST APIs.
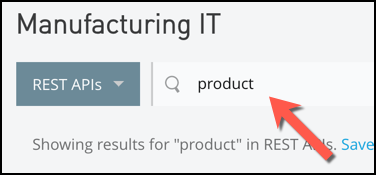
In the Search field, type in ‘product’ and press enter
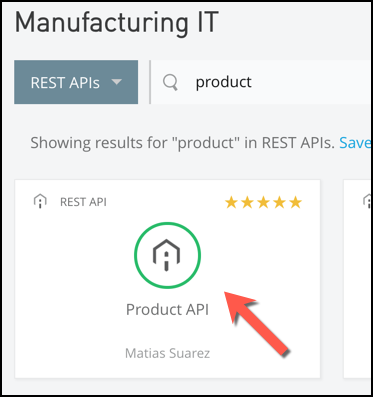
Click on the Product API tile to open the asset.
Be sure you are searching in your organization. In that way you restrict your search.
Explore the Products API page. You can click on the ‘API Summary’ link in the left hand navigation bar to try it.
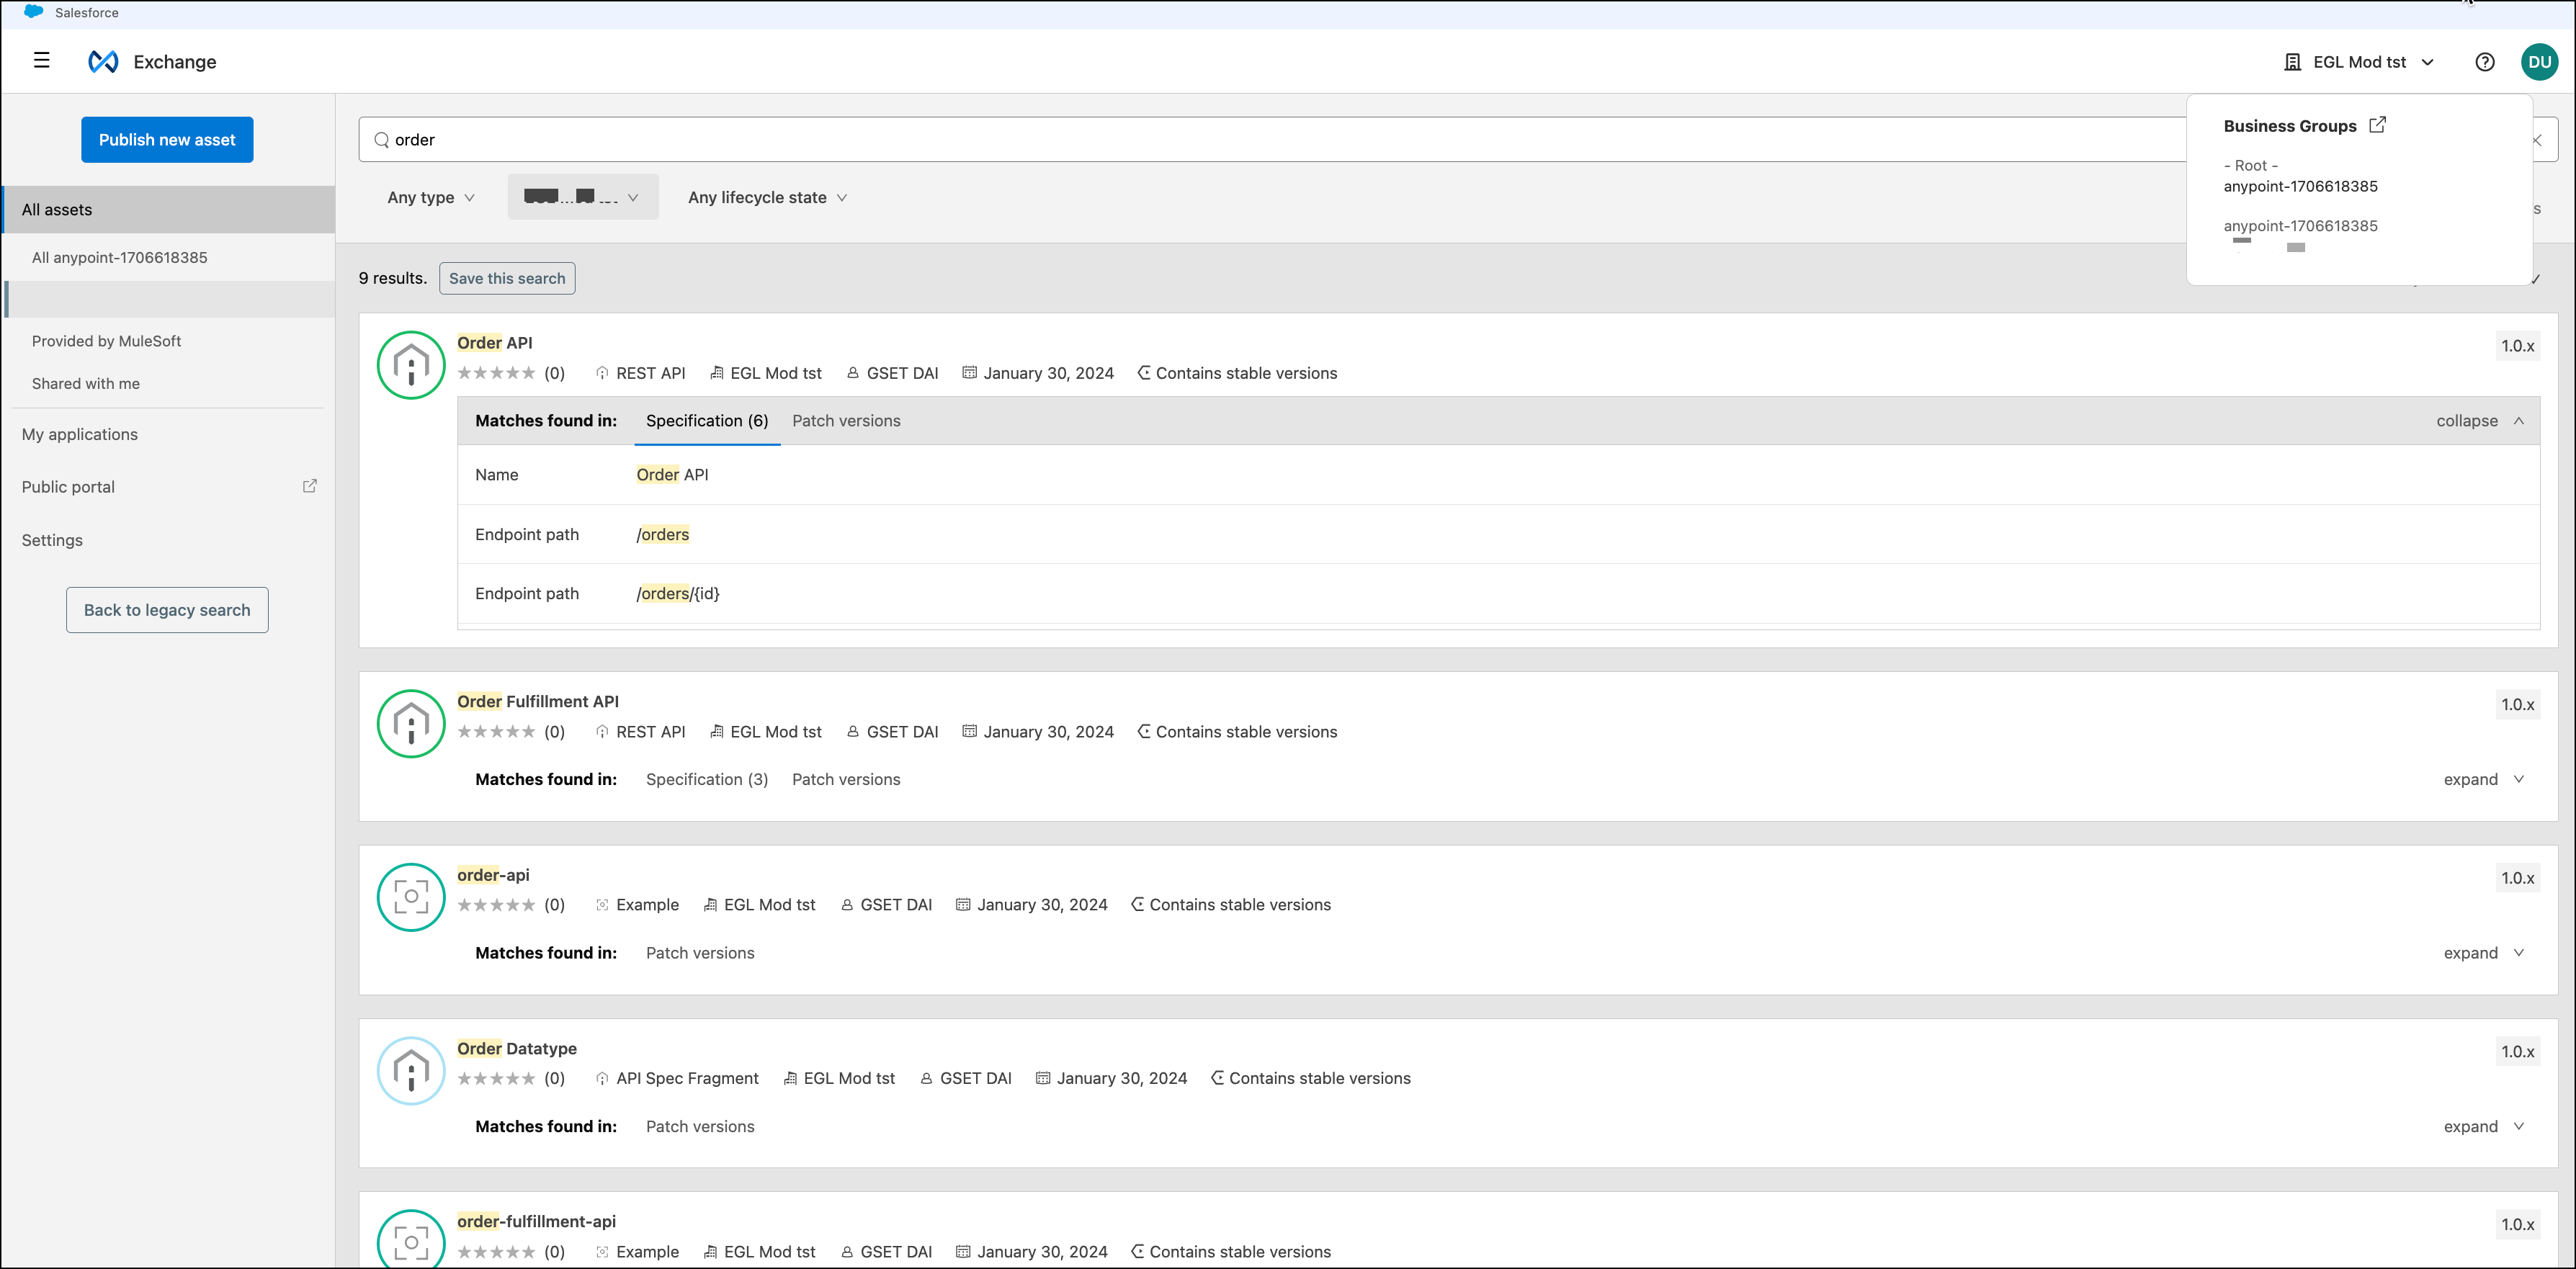
Step 3: Explore the Order APIs
Next, let’s take a look at the Order API.
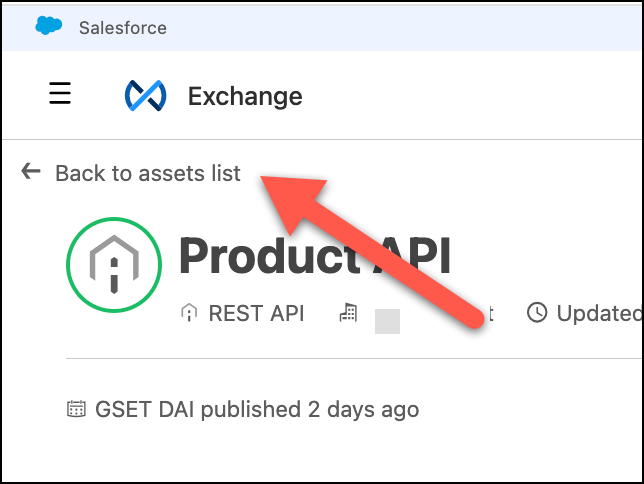
First go back to the Exchange by clicking on Assets List in the left-hand navigation bar.
The Order API is available in your organization. Make sure your organization is selected.
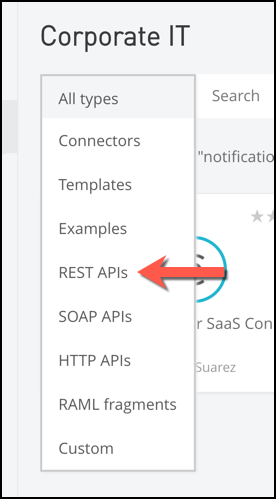
If the filter is set to All types, click and change it to REST APIs.
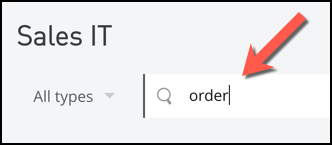
In the Search field, type in ‘order’ and hit enter
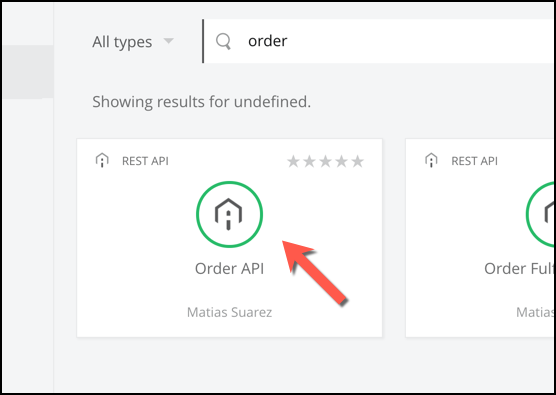
Click on the Order API tile to open the asset.
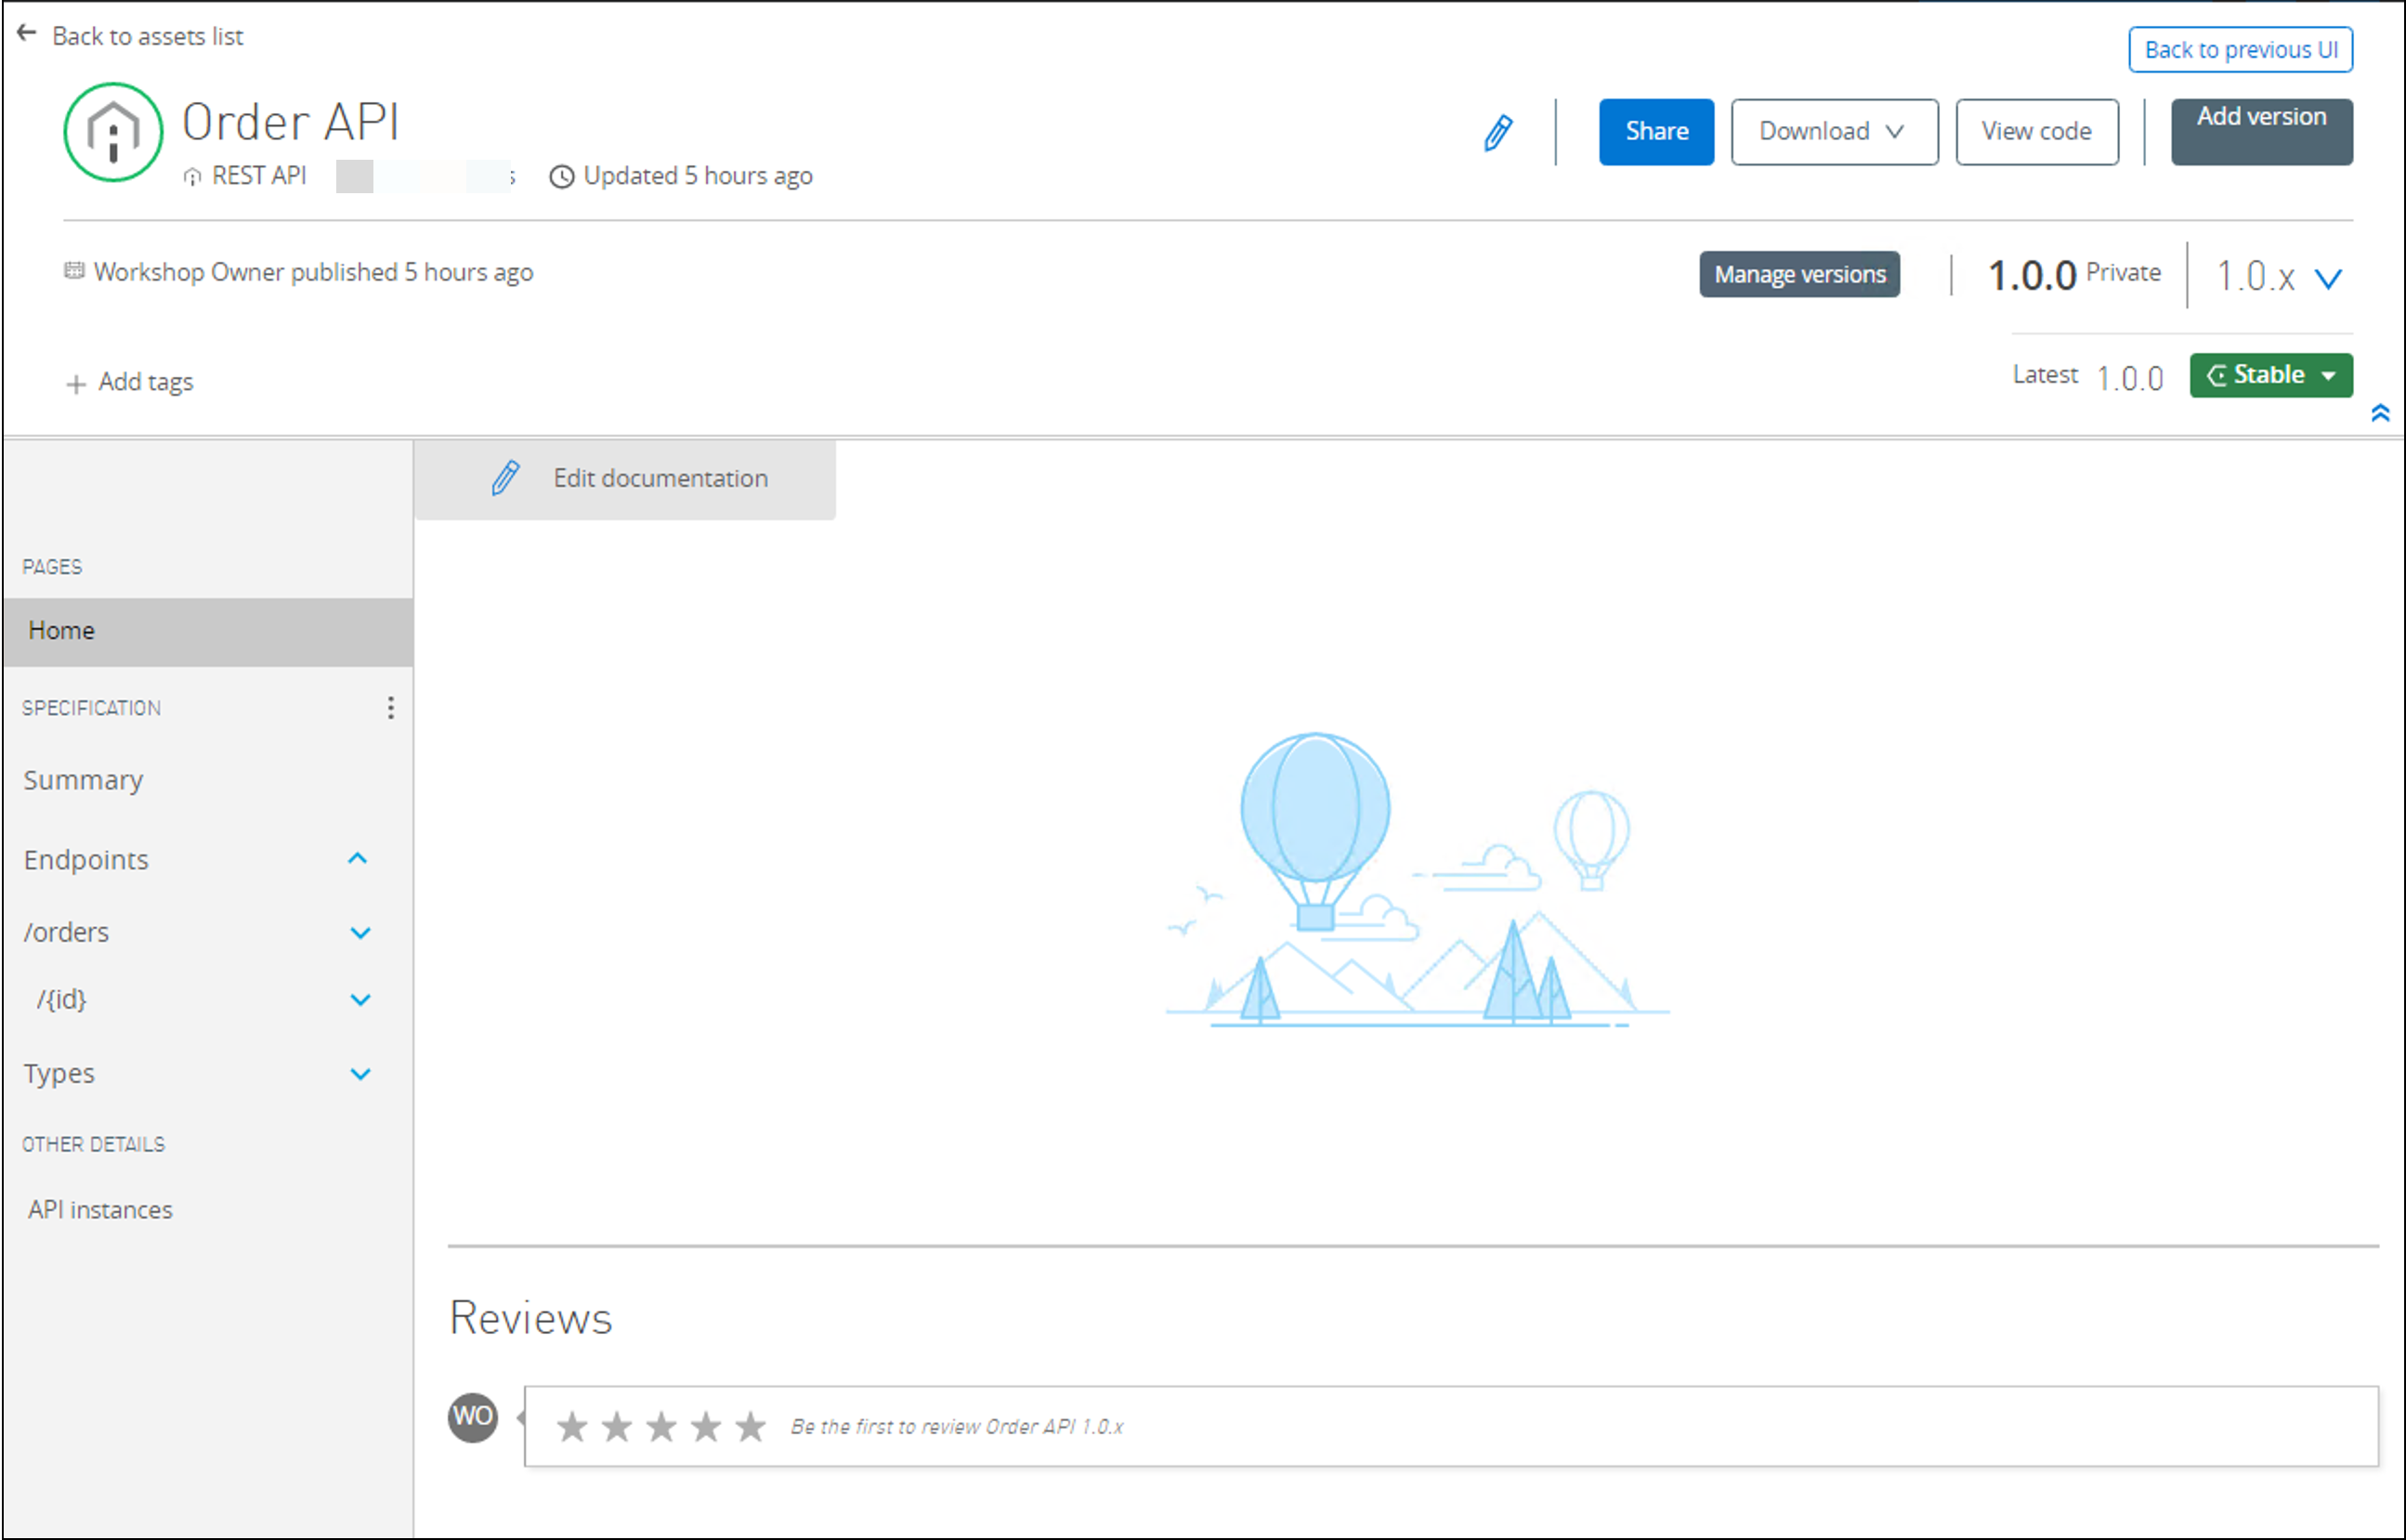
Explore the Order API page.
Step 4: Explore the Notification API
Next, let’s take a look at the Notification API.
Go back to the Exchange by clicking on Assets List in the left-hand navigation bar.
The Notification API is available in your organization. Make sure your organization is selected.
If the filter is set to All types, click and change it to REST APIs.
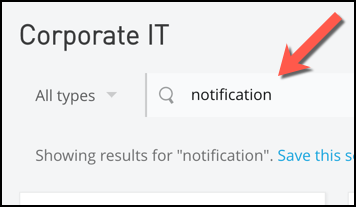
In the Search field, type in ‘notification’ and hit enter
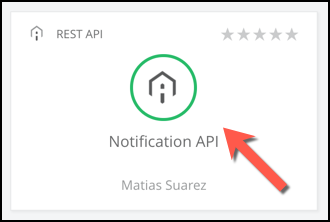
Click on the Notification API tile to open the asset.
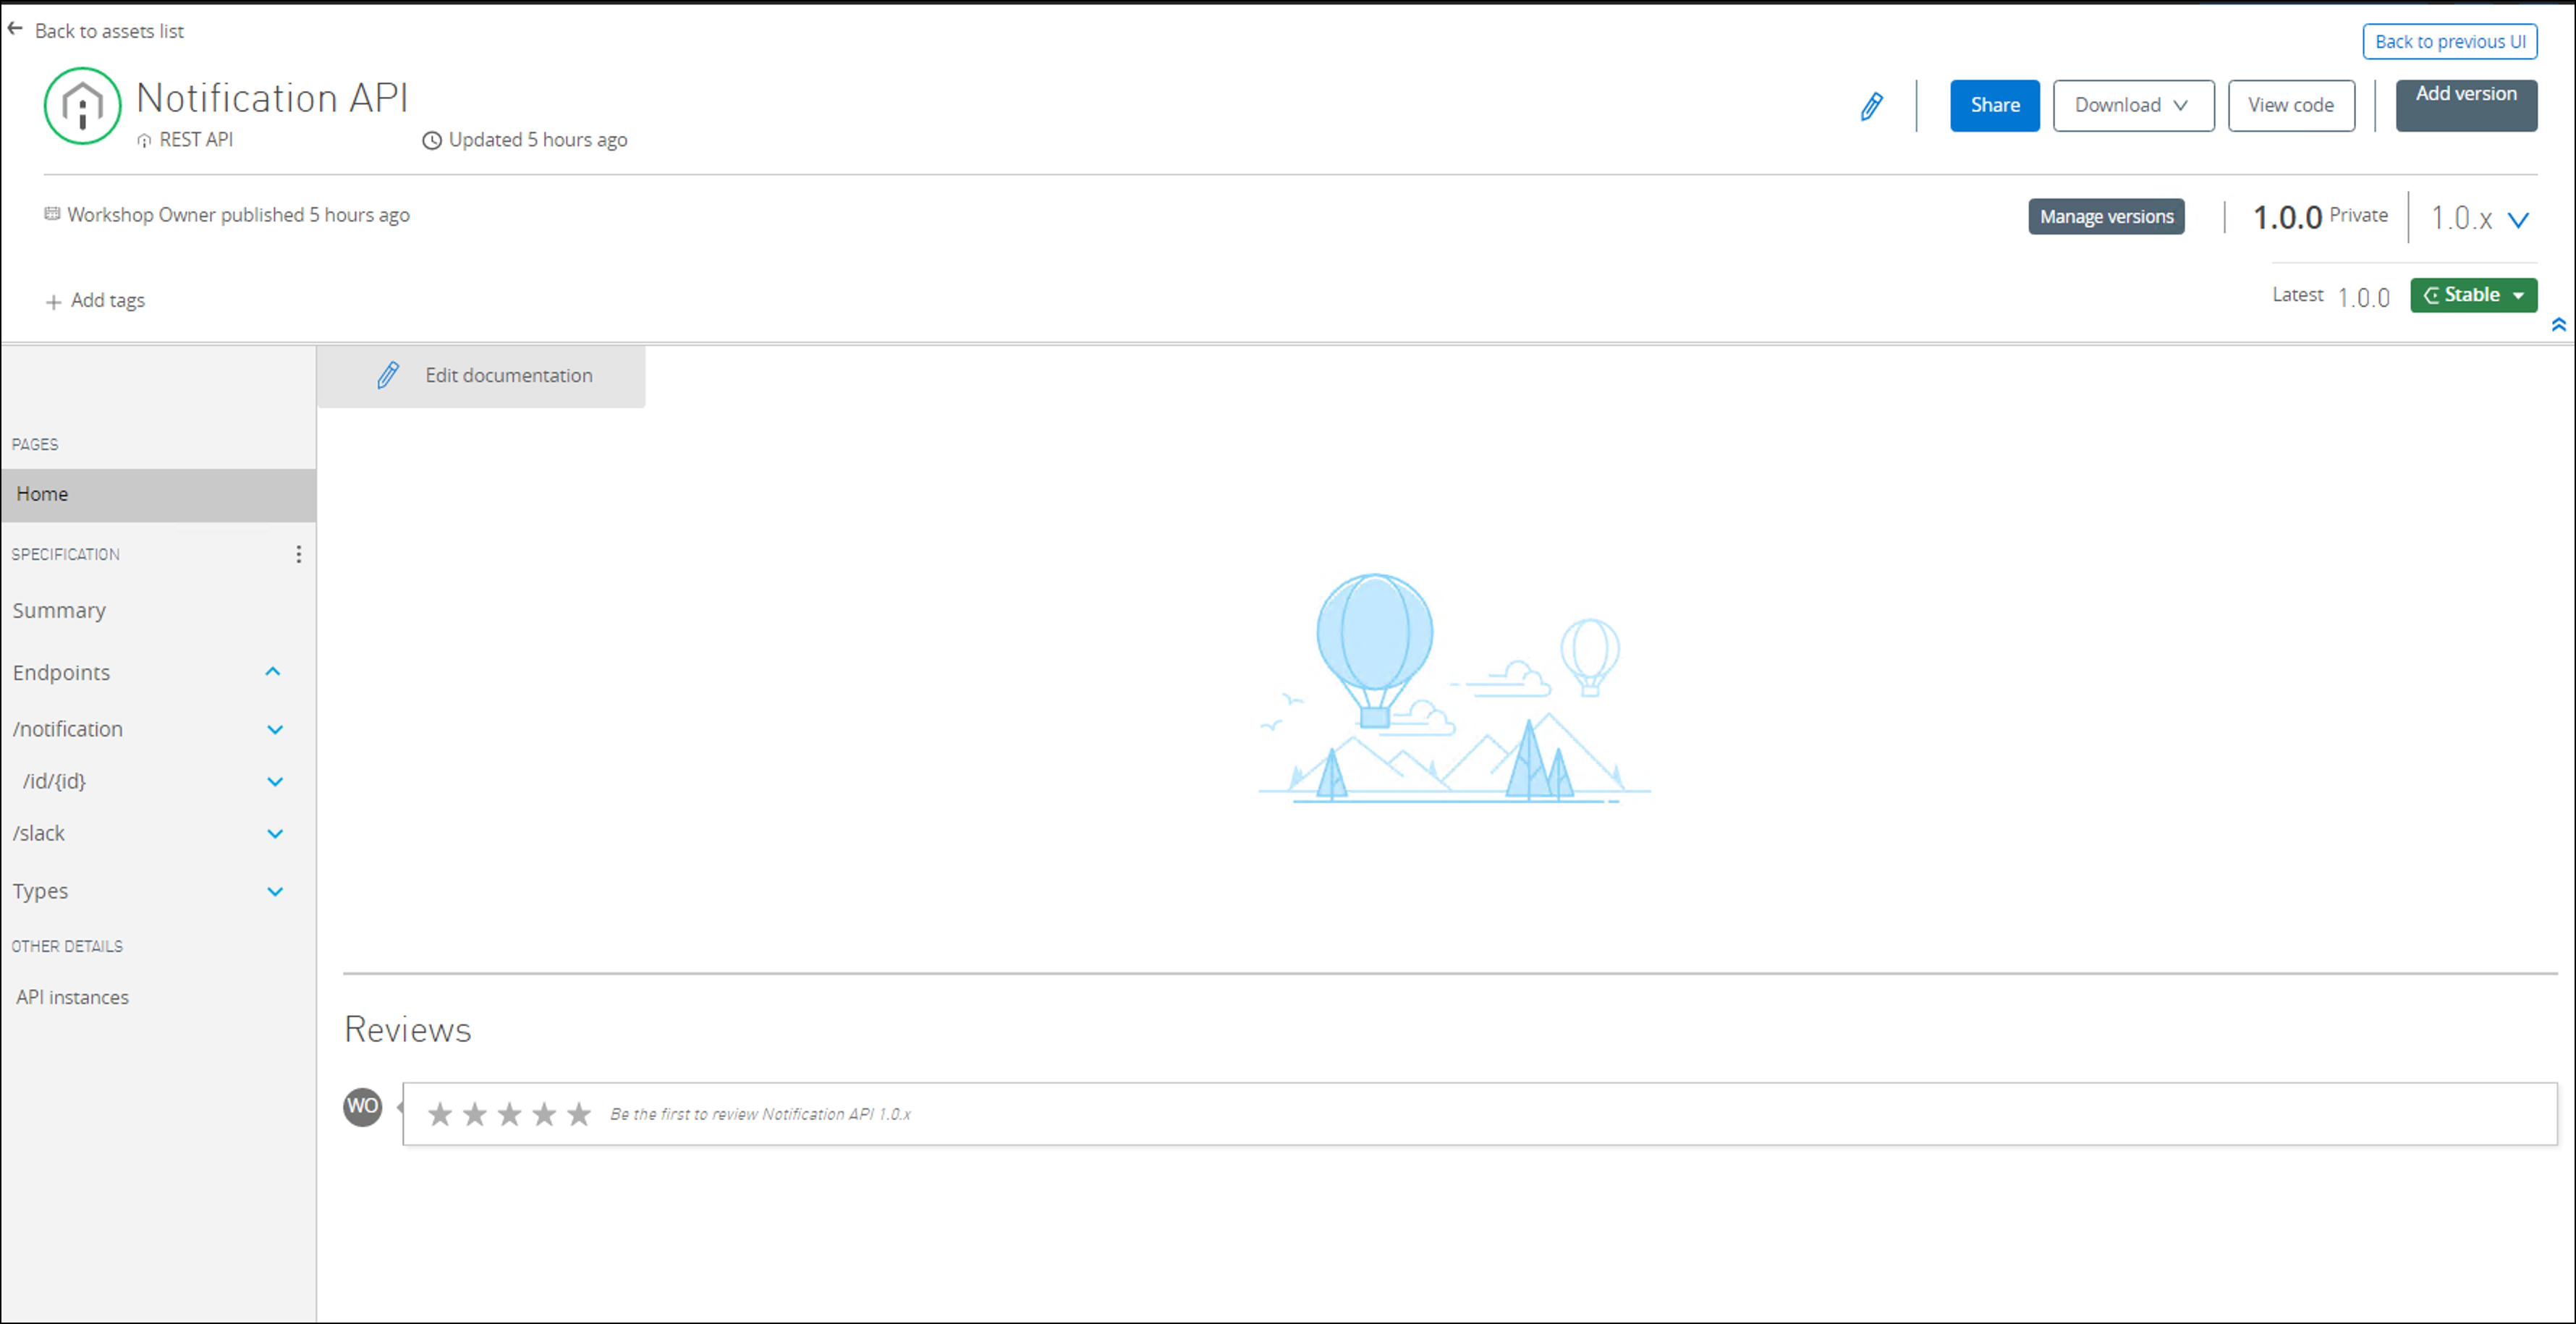
Explore the Notification API page
Step 5: Explore the Customer API
Lastly, let’s take a look at the Customer API.
Go back to the Exchange by clicking on Assets List in the left-hand navigation bar.
The Customer API is available in your organization. Make sure your organization is selected.
If the filter is set to All types, click and change it to REST APIs.

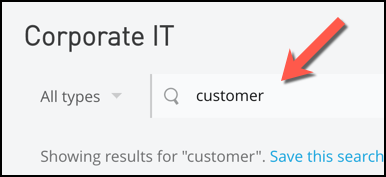
In the Search field, type in ‘customer’ and hit enter
Click on the Customer API tile to open the asset.
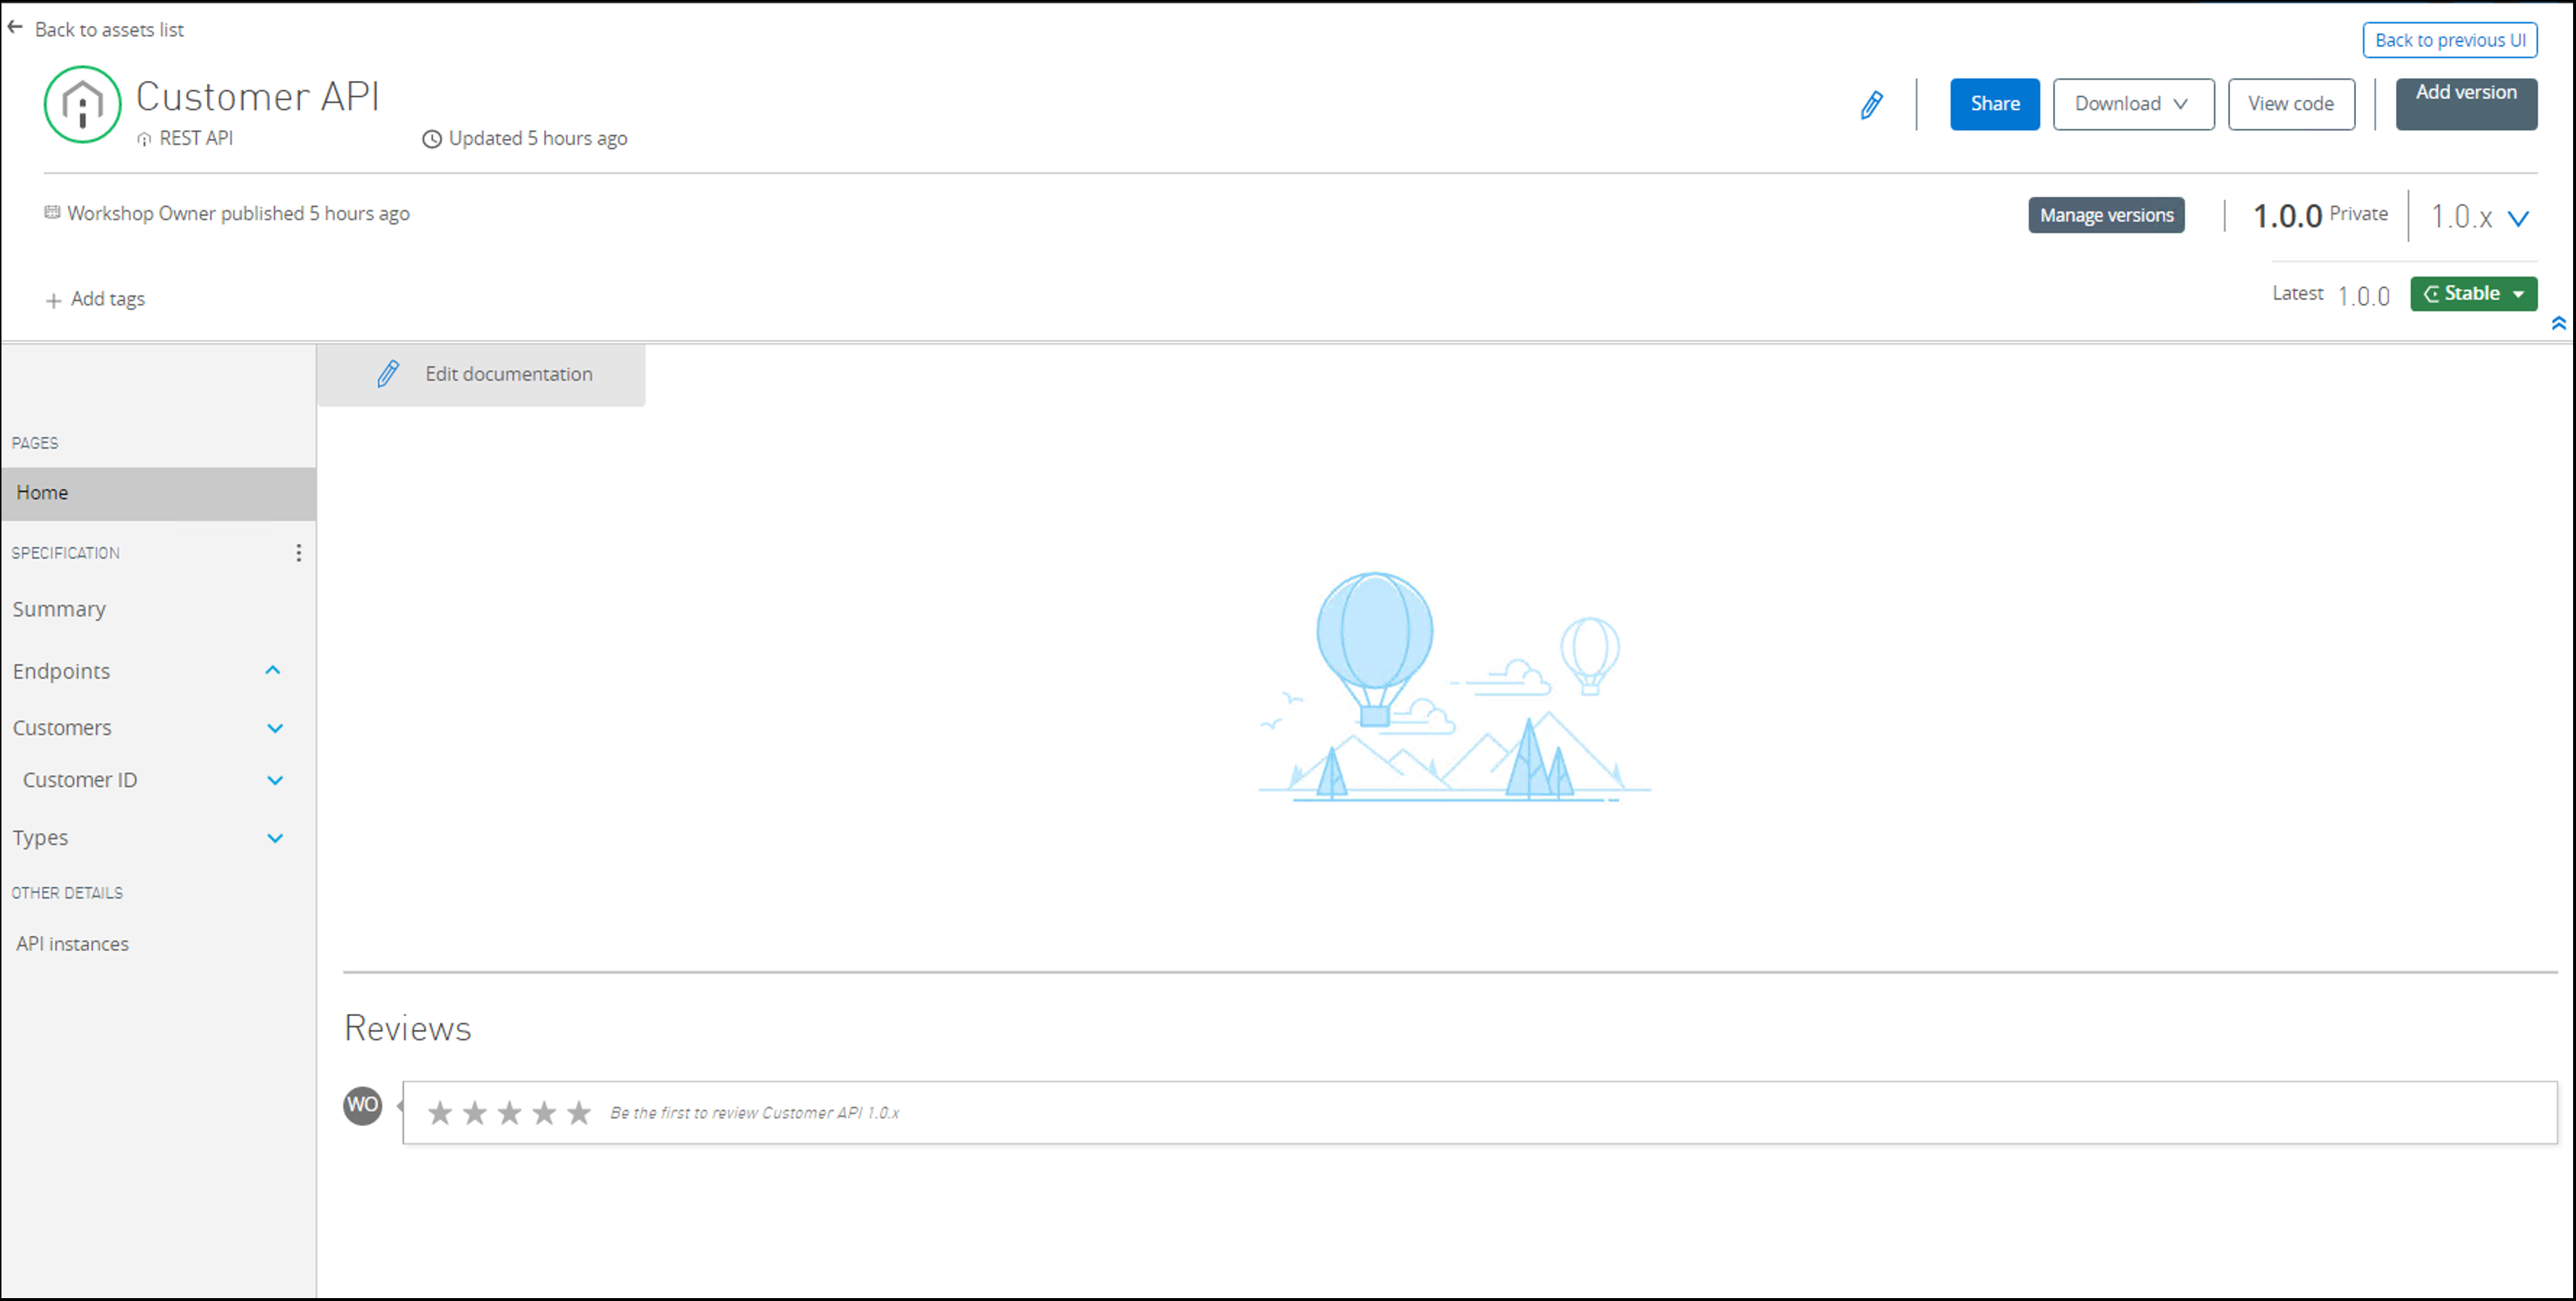
Explore the Customer API page
Summary
As you’ve already experienced, Anypoint Exchange should be your initial starting point for just about any project. If you are looking to reuse an API then Anypoint Exchange is obviously where you should start. But even if you are creating a new API to be reused by others, it makes sense to first look in Exchange to see if the API already exists. Sometimes you will find that someone else has already undertaken the task of creating the API, or has created a subset of what you need.
Congratulations! You have completed Lab 4
This concludes all of the labs for this Module. Please proceed to next module