- Overview
- Step 1: Create a new Mule Project from the RAML
- Step 2: Test the Generated API Project
- Summary
Lab 1: Implement the Omni Channel API in Studio
Overview
In this first lab, you will use Anypoint Studio to create a Mule application where there will be one flow for each method of each resource (i.e. GET). Additionally you will use APIKit (as part of your Mule application) to process each REST requests, transform them to messages to be handled and processed by each flow.
The implementation will consist of a few steps
- Create a new Mule Project in Anypoint Studio from the Omni Channel API RAML
- Run the Mule app from Anypoint Studio
Then we will test this new API using the API Console.
Step 1: Create a new Mule Project from the RAML
In this step we will create a new Mule application in Anypoint Studio from the Omni Channel API RAML Definition. This will be the implementation of our REST API.
- Start Anypoint Studio from the desktop icon.
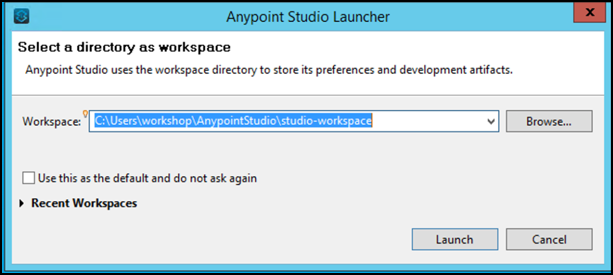
When you open the Studio for the first time, you are going to be asked for the workspace where the projects are going to be saved. Select the one that comes by default.
A popup requiring indows defender exception will be displayed. Click no, as you don’t have admin access to windows

You are presented with the Anypoint Studio Welcome Screen.
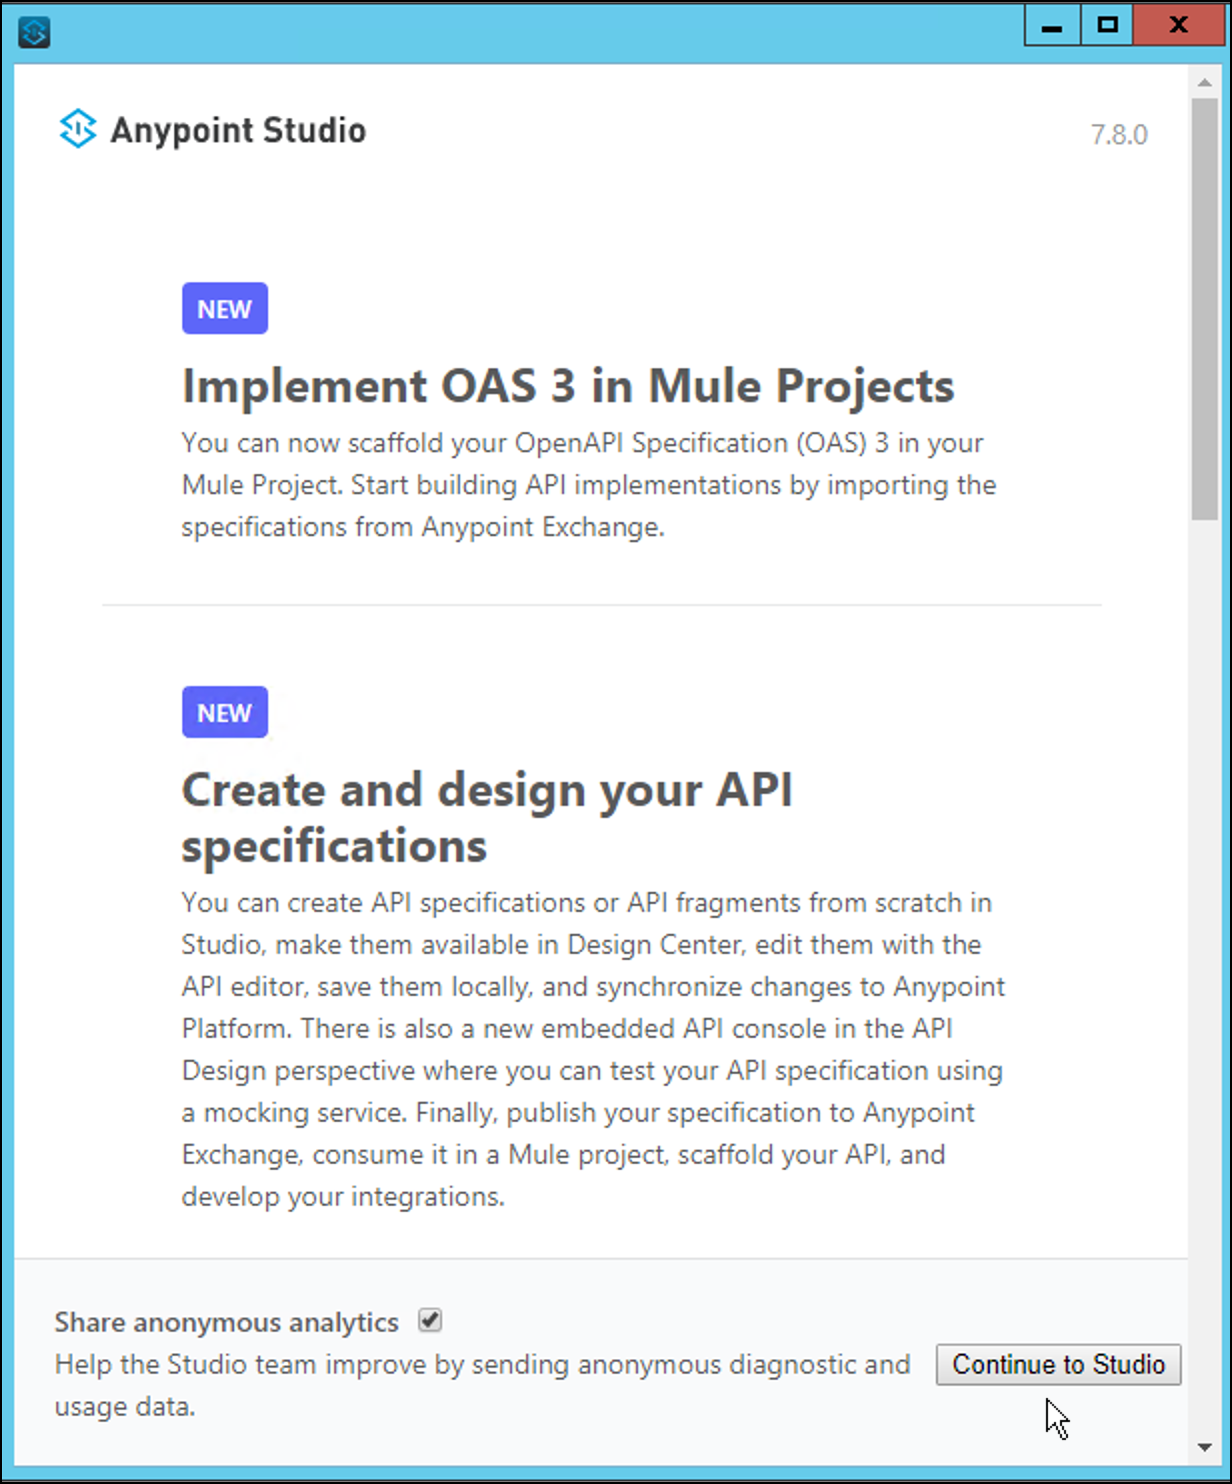
Scroll to the bottom if you want to know more on Studio. After that, press Continue to Studio.
In the Workspace Launcher, use the default workspace directory location.
From Anypoint Studio’s menu, select File > New > Mule Project to create a New Mule project. A Window will pop-up to define the details of this new application.

Give the project the name <your initials>-omni-channel-api-v1
Select the Mule Server 4.7.2 EE (or latest version if present).
Under Import a Published API we are going to import the RAML Spec from Exchange. Click on
 and select from Exchange
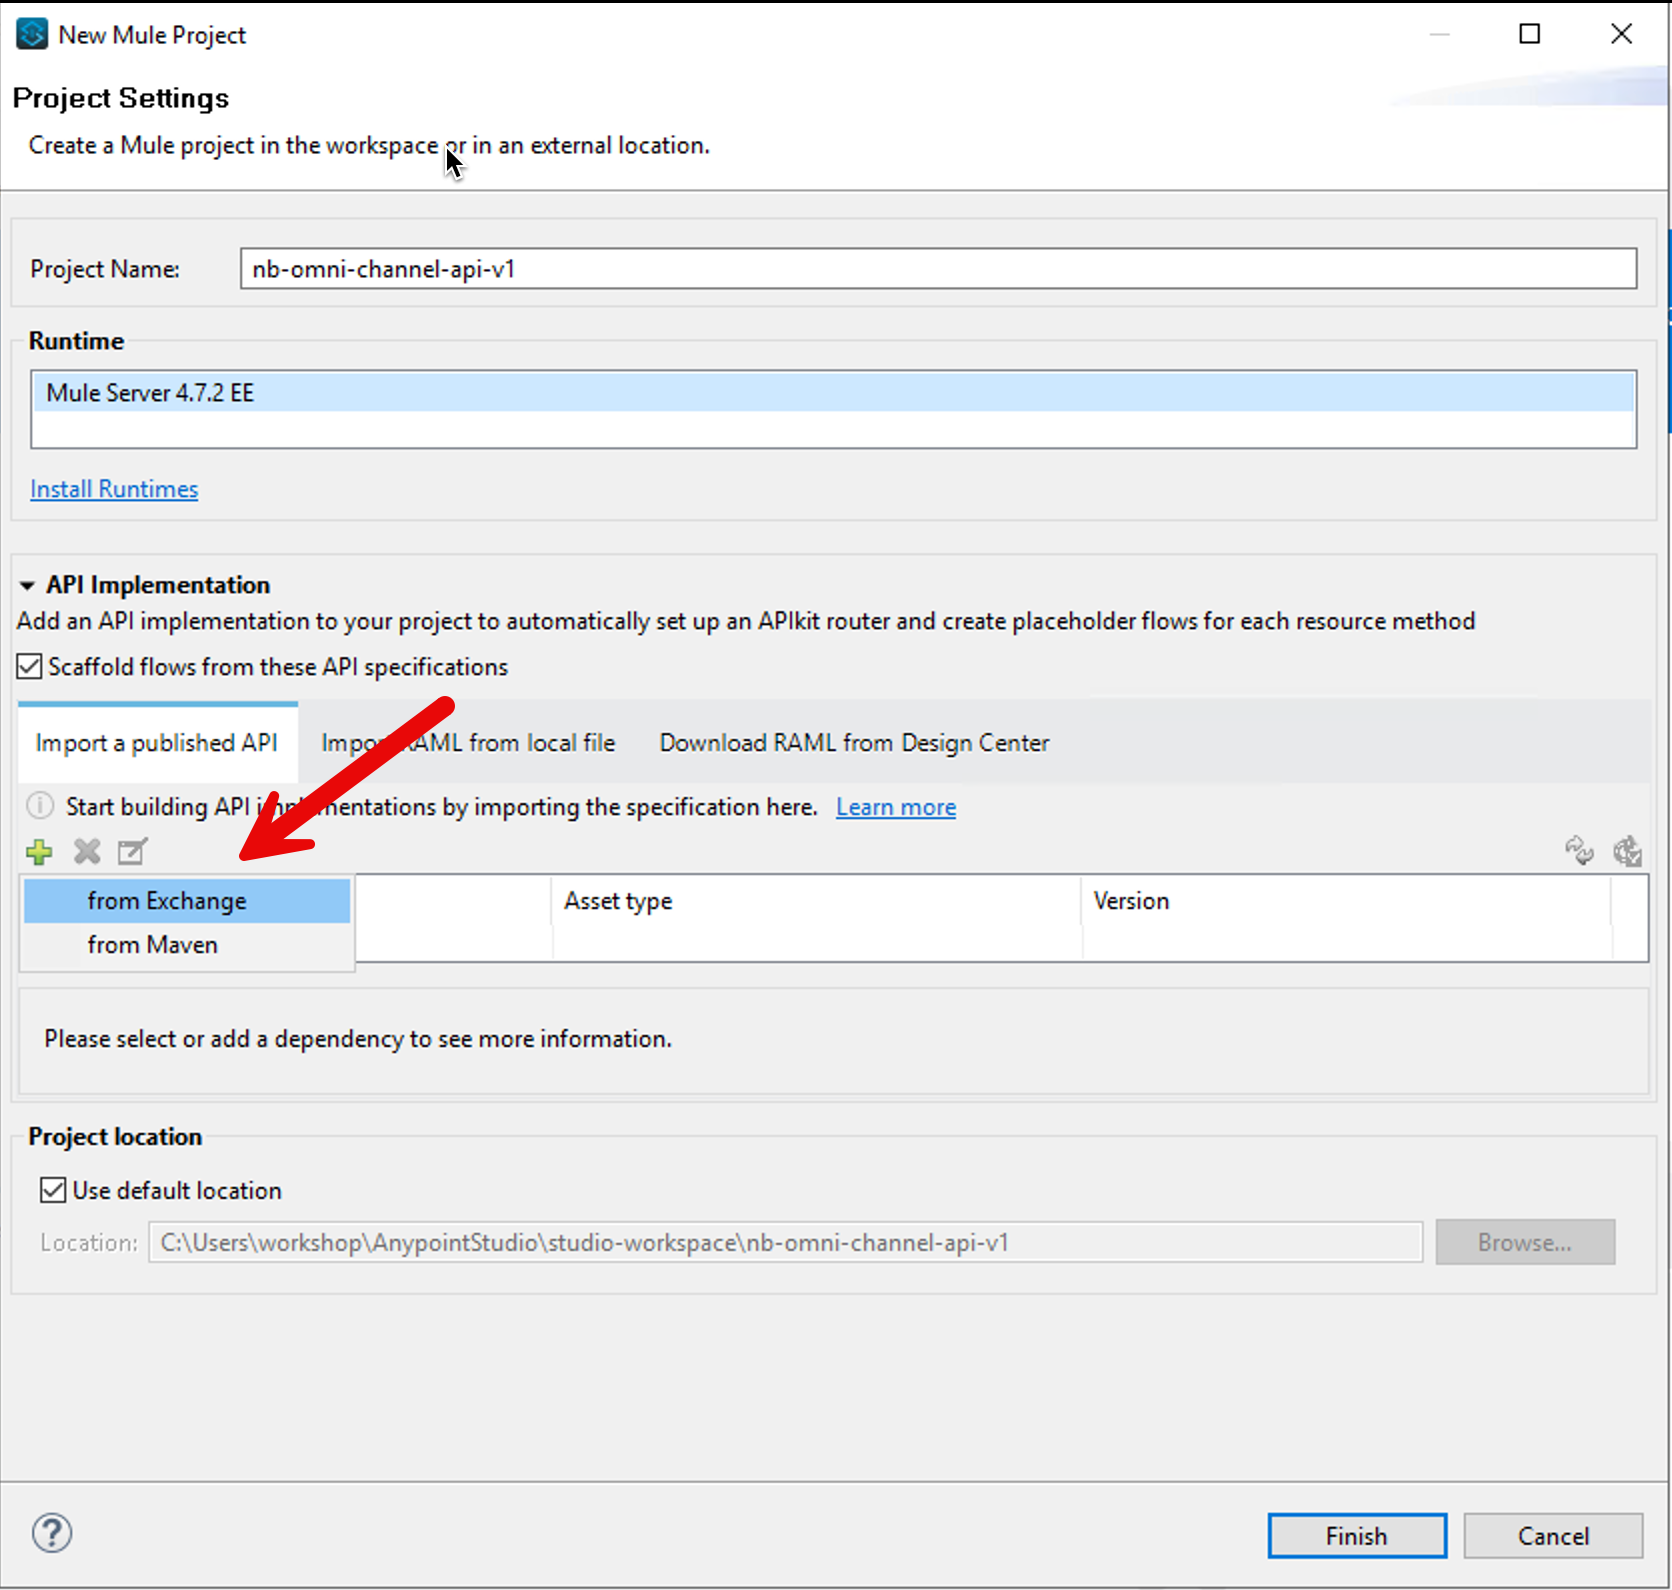
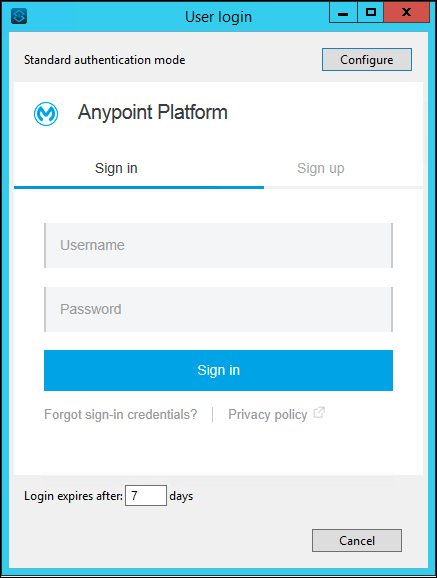
Once you clicked there, you will see a new window. You need to login to the Anypoint Platform. So click on the Add Account button.

A new Login window will appear. Insert your credentials.
In the Search field put
Omni ChannelSelect the <username> Omni Channel Experience API that you created in Module 1 and click Add.
If you haven’t done Module 1, you can import the Omni Channel Experience API. Be sure you aren’t choosing the one whose Publisher is Mulesoft
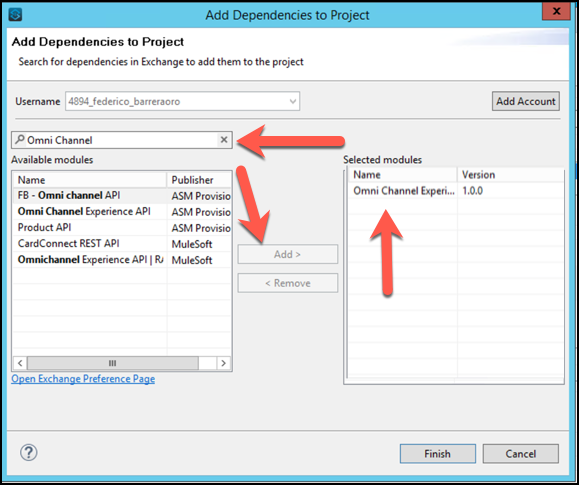
Press Finish
Check everything is fine. Be sure that the Scaffold flows from these API Specifications is checked.
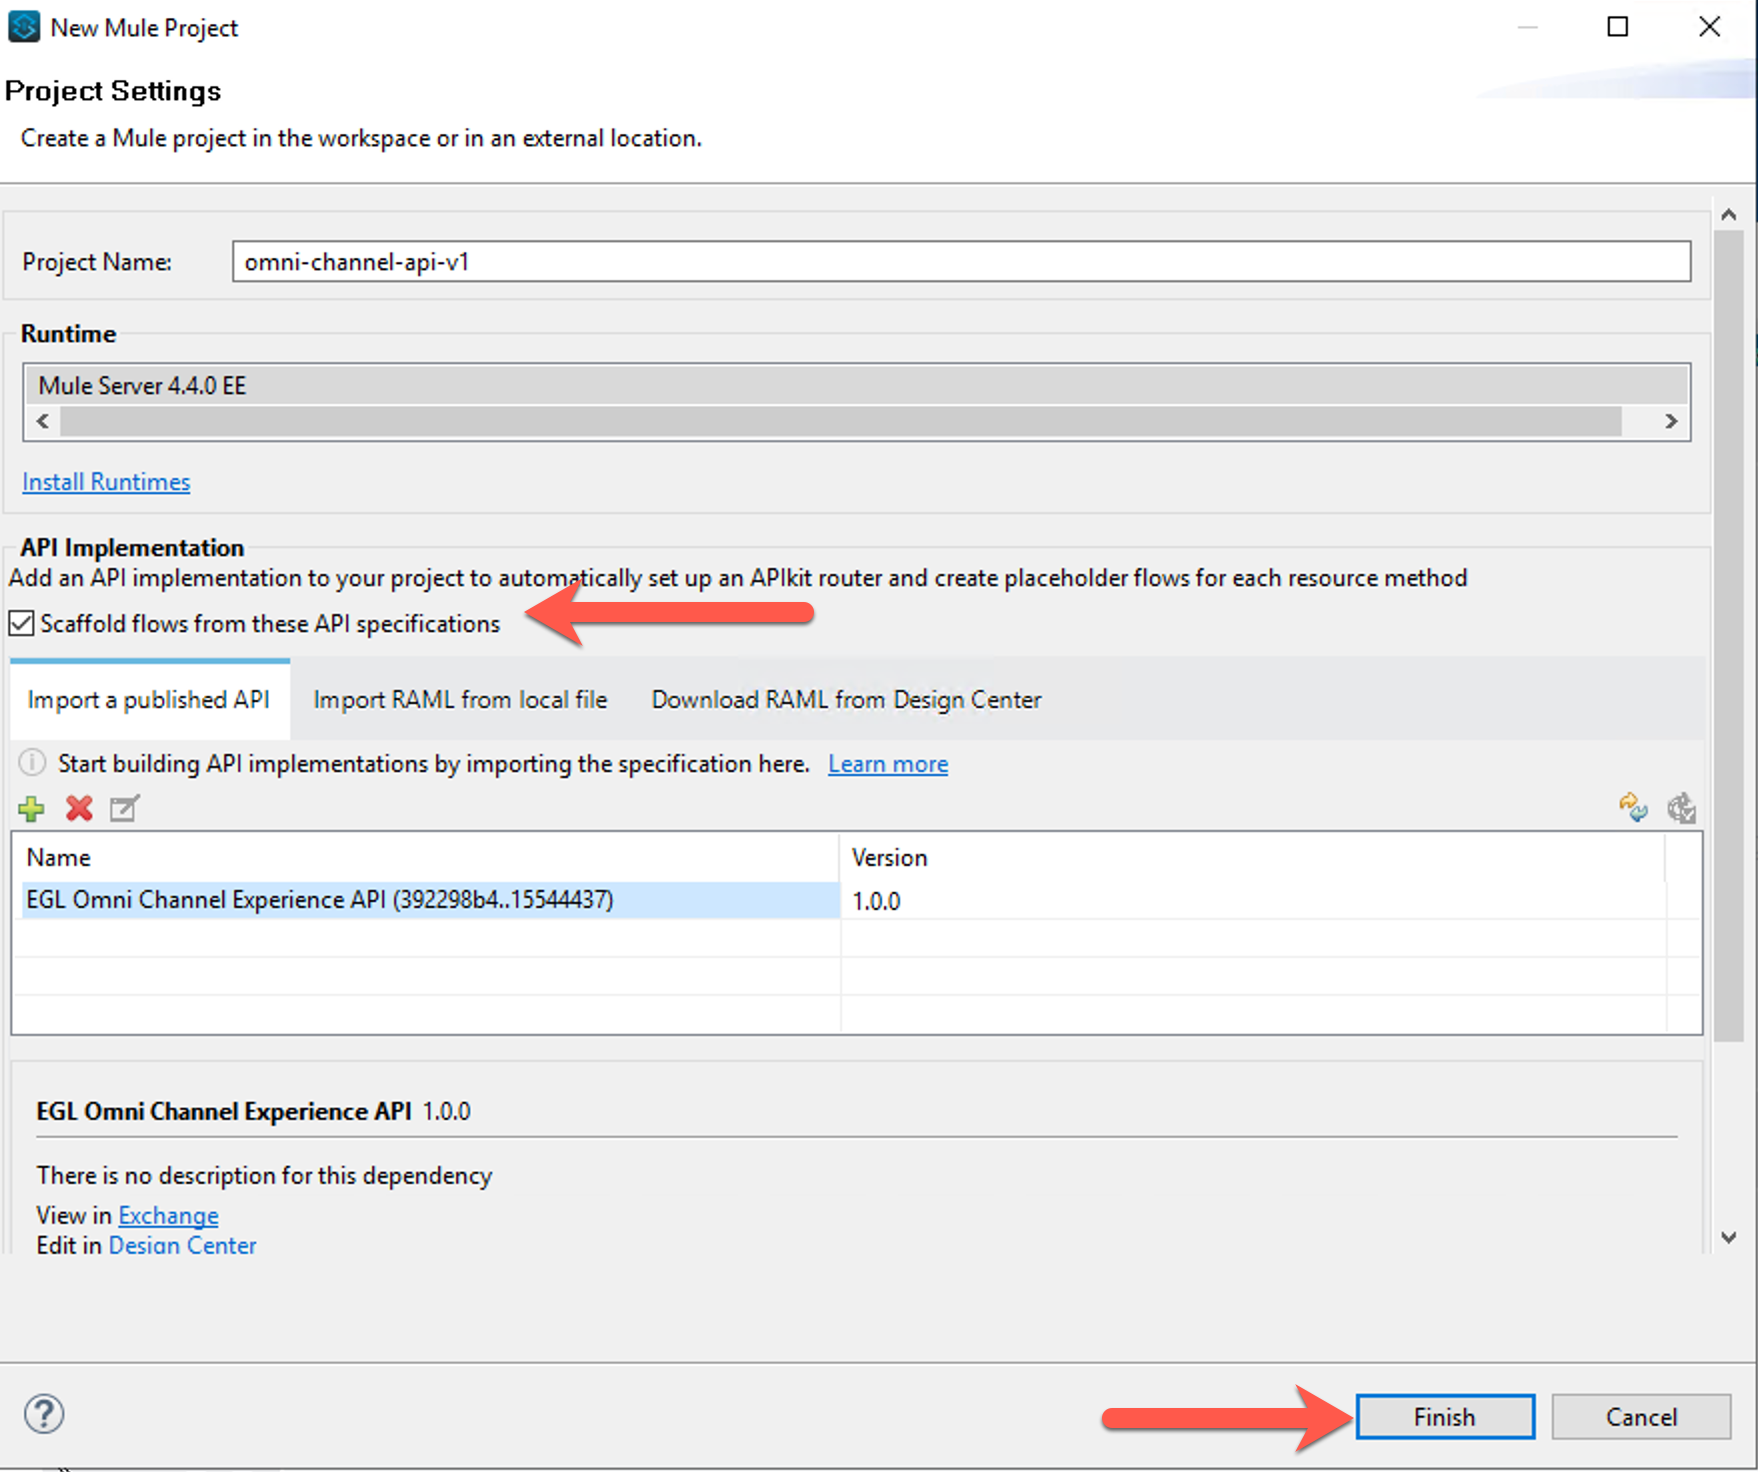
Now click Finish
You might be prompted to perform updates, click Perform update and wait until the update finishes
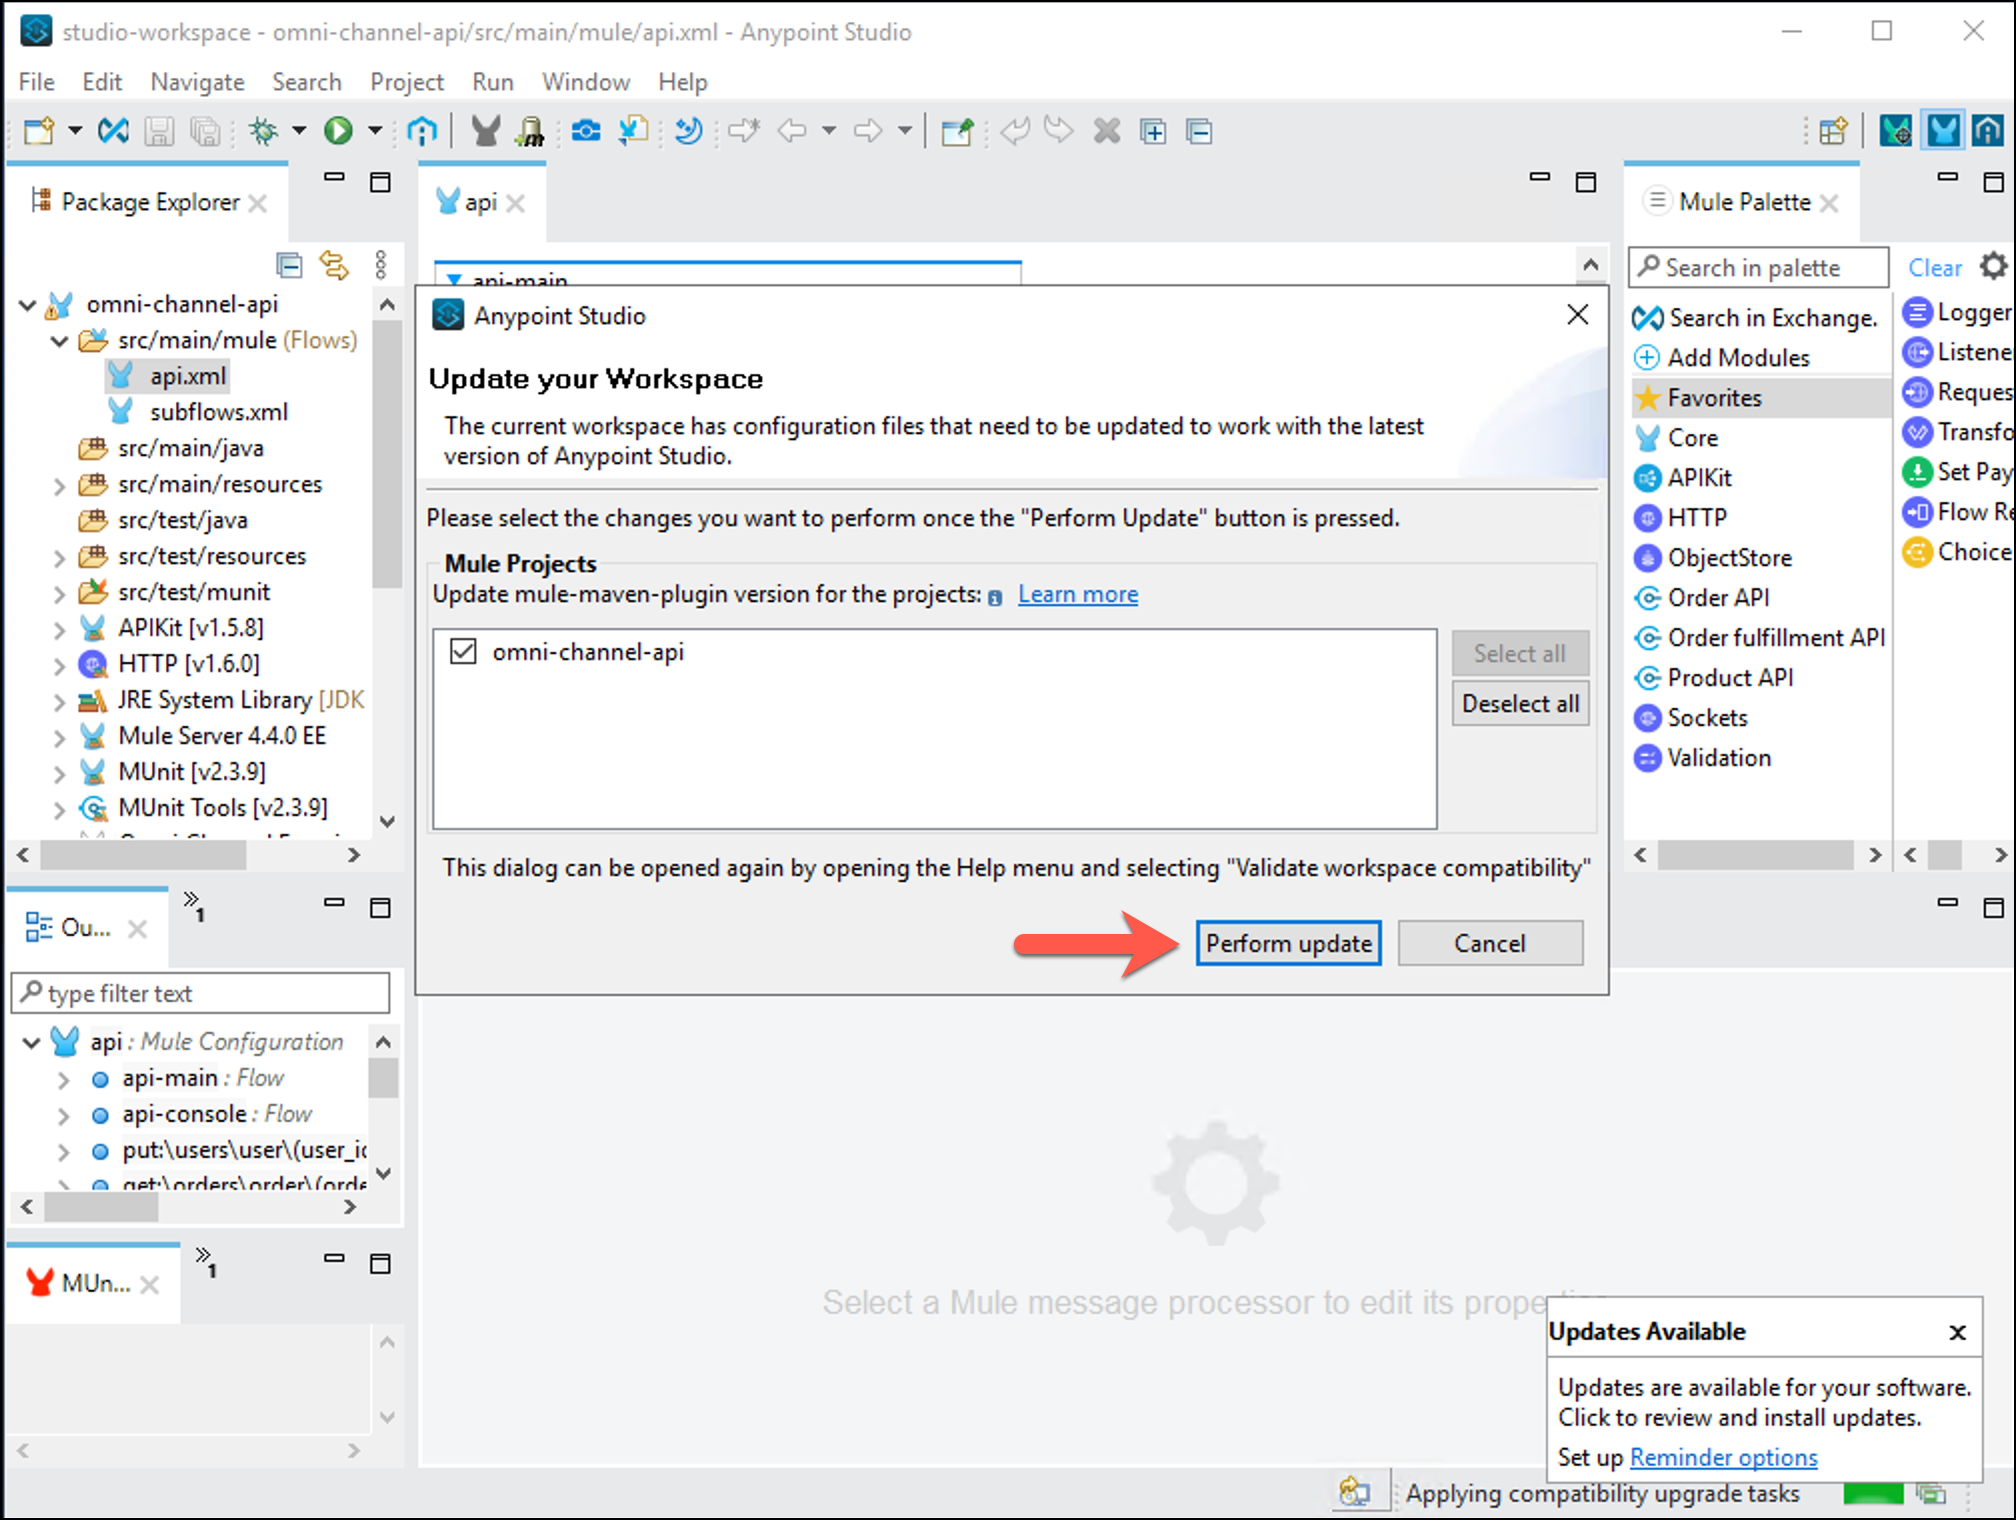
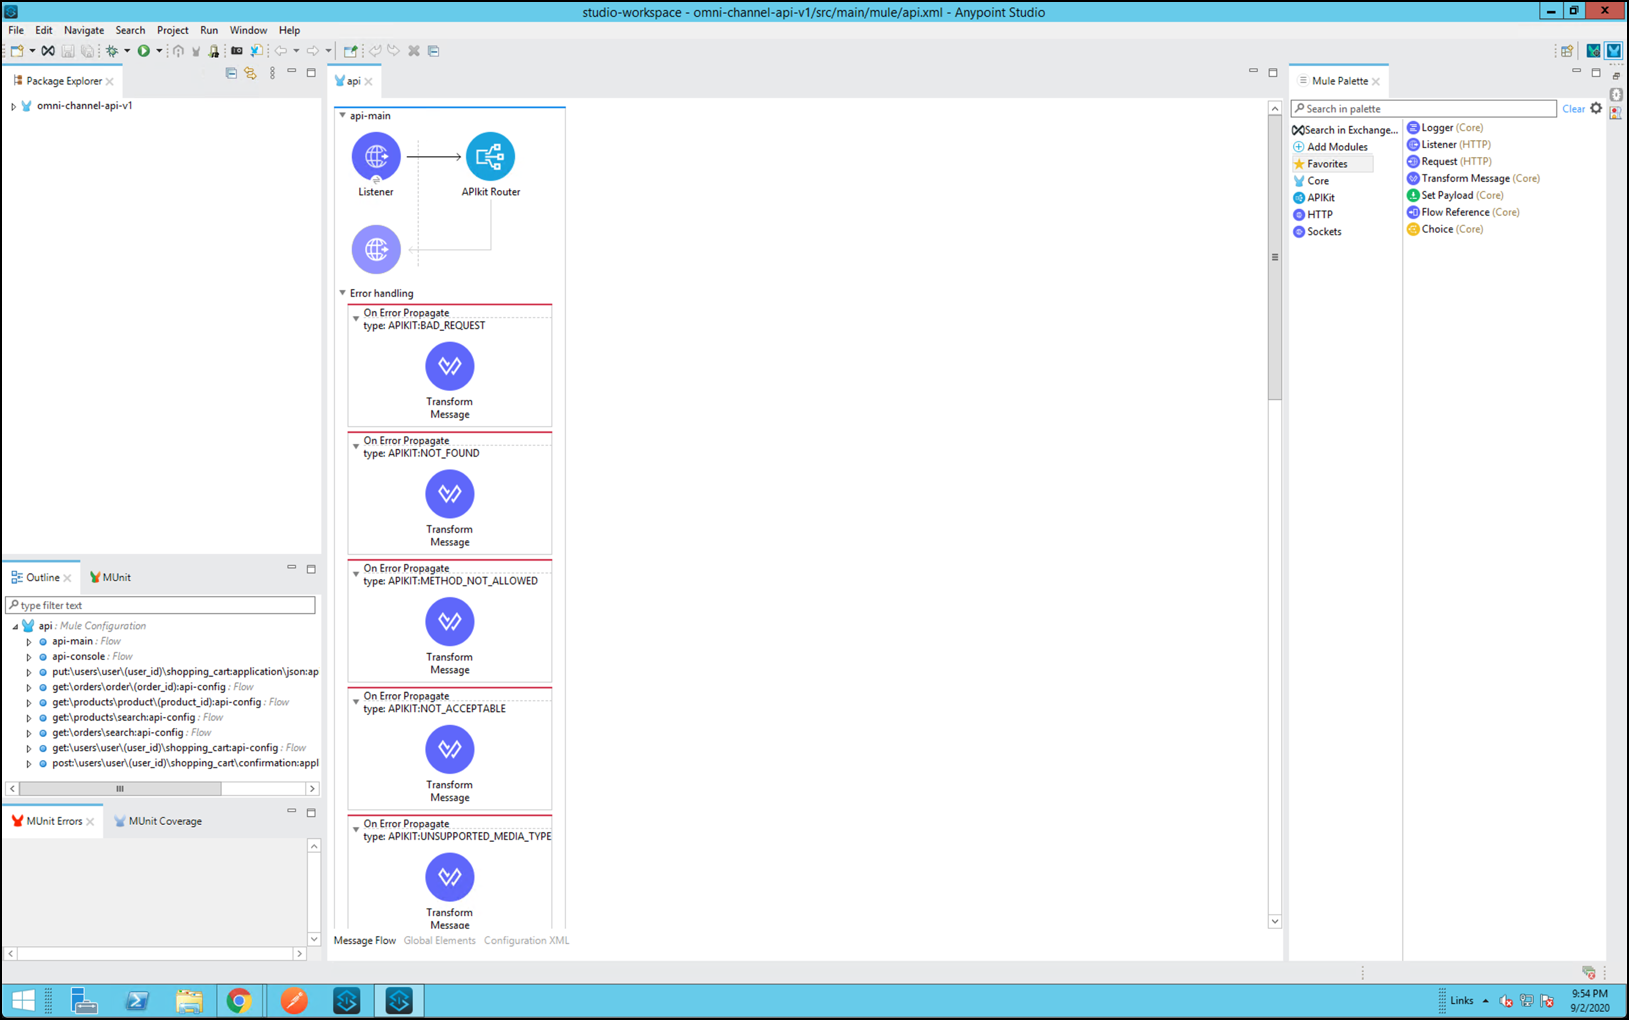
After the update is done, a skeleton project that implements your API will be displayed.
Done! now let’s explore what was automatically generated.
The APKit component
At the top of the diagram you will see a flow called api-main and api-console followed by flows, one for each method defined in the RAML.
The flows below are defined by your API Design in the RAML file. Typically, there will be flows that look like this get:\resource, post:\resource, put:\resource, etc.
The name of the flow is very important for the APIkit router to be able to route the request to the appropriate flow - you don’t want to change these.
When APIkit detects example data in the response of a method in the RAML it inserts a Dataweave Transform Message into the flow which returns the static response specified by the example data reference.
The static response returned by the auto-generated Dataweave Transform Message allows you to test the API as a stub immediately after generation. Obviously these flows can be enhanced to provide more advanced mock services as well as evolve them into full API implementation as we will see in the next lab.
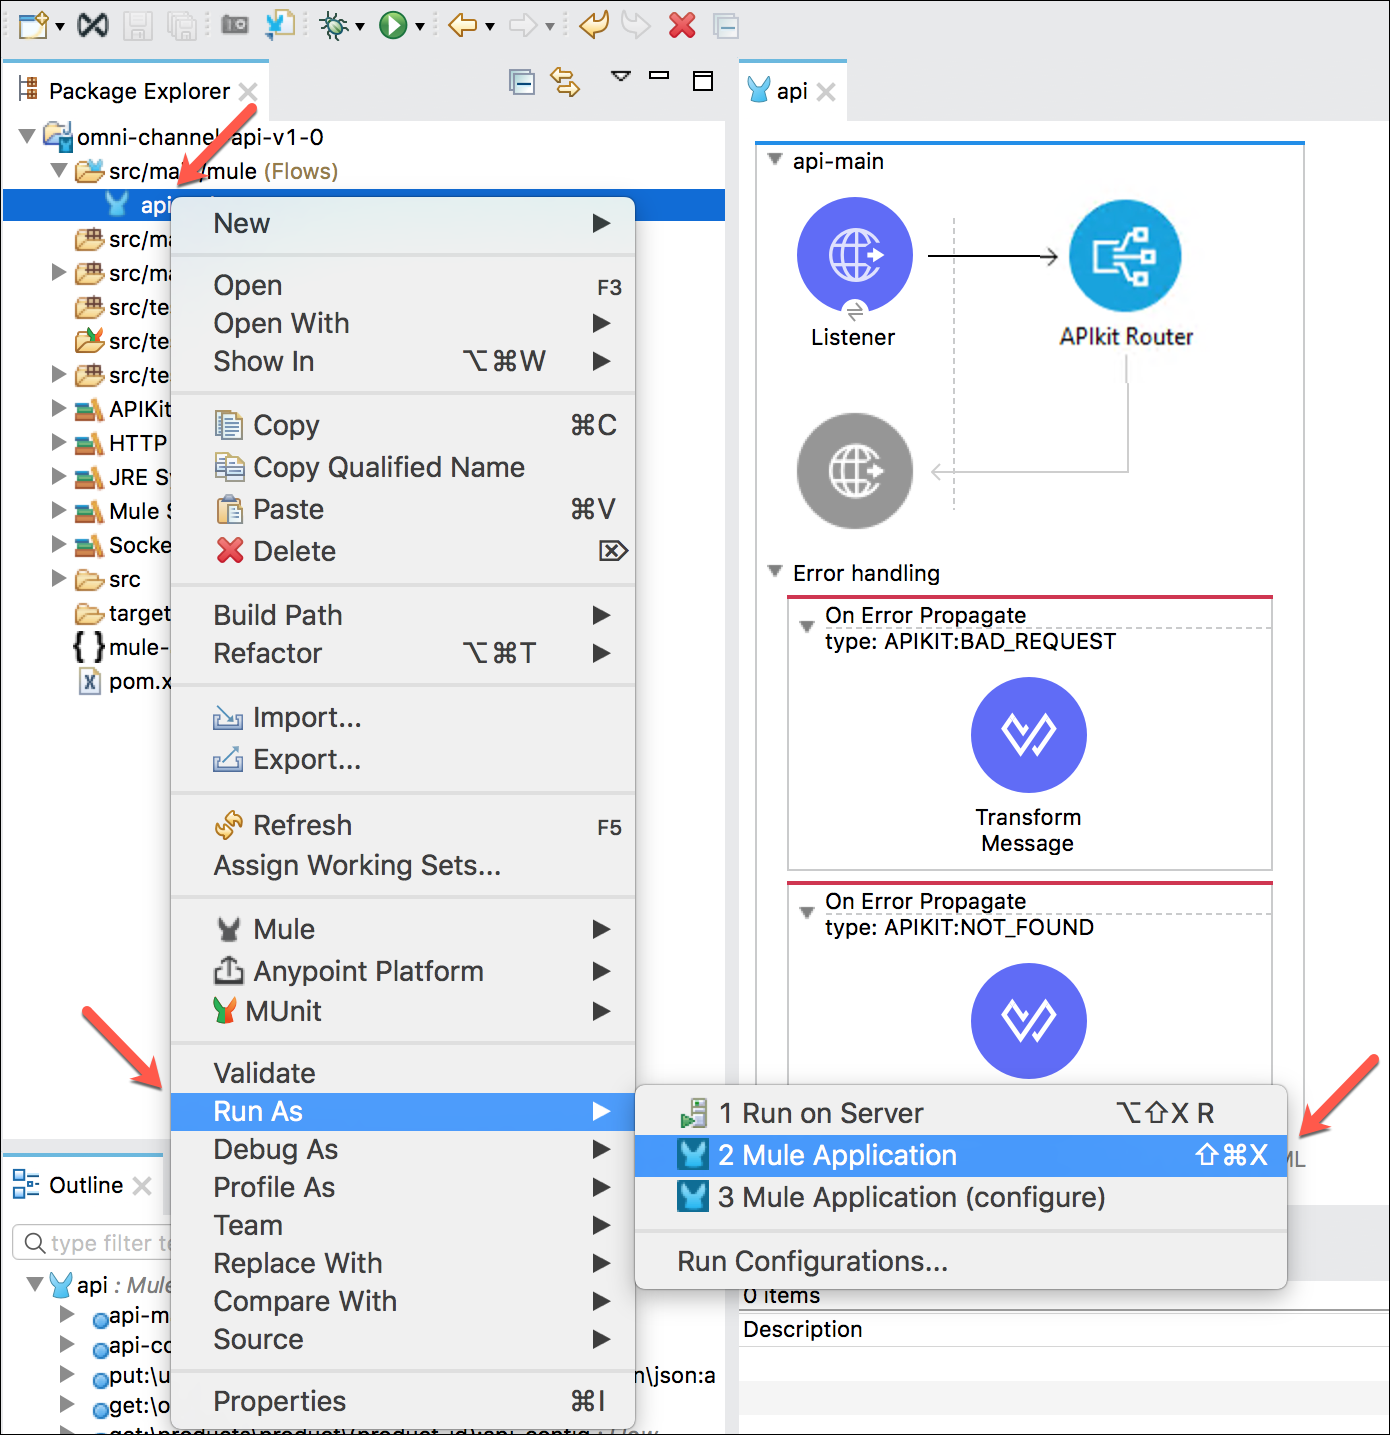
api-main
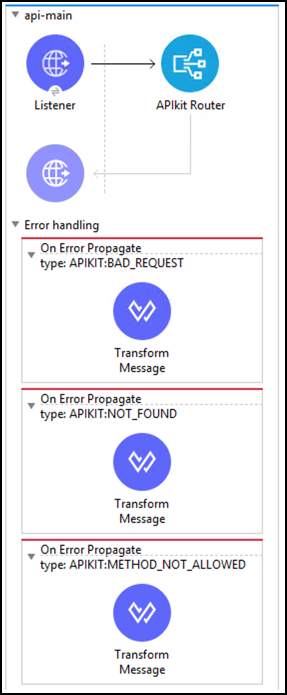
This is the main flow. It exposes an HTTP service and processes the requests using the APIKit Router.
The HTTP request will be converted to a mule message, and redirected to the requested flow by the APIKit router.
By selecting the http listener one can take a look at the HTTP configuration, there you will see the Protocol, Host and Port attributes, all that information means that the listener is in fact listening for requests on http://localhost:8081/api.
Inside the api-main flow also an Error-Handling block is included. In this block multiple On Error Propagate definitions are autogenerated for common API error responses such as METHOD_NOT_ALLOWED, BAD_REQUEST etc.
put:\users\user\{user_id}\shopping_cart

This flow puts an item into a users shopping cart based on the user id. This put operation returns no response and therefore the Dataweave Transform Message processor is replaced automatically by a Logger message processor.
get:\orders\order\{order_id}
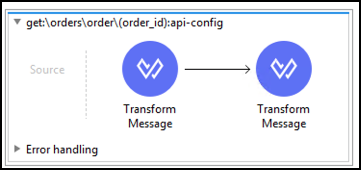
This flow gets an order based on an order id
get:\products\product\{product_id}
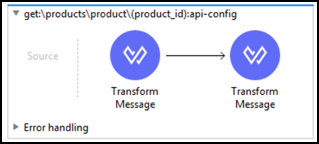
This flow gets a product based on a product id
get:\orders\search

This flow returns orders based on search criteria
get:\products\search
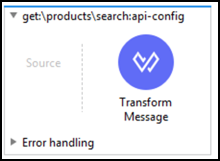
This flow returns products based on a search criteria
get:\users\user\{user_id}\shopping_cart
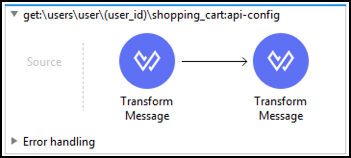
This flow returns all the items in a users shopping cart based on a user id
post:\users\user\{user_id}\shopping_cart\confirmation
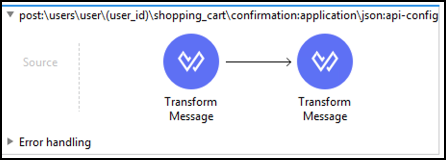
This flow confirms the items to purchase in a users shopping cart.
Step 2: Test the Generated API Project
To test the API, let’s run it within Studio first. Right click the application.
Select Run As > Mule Application.
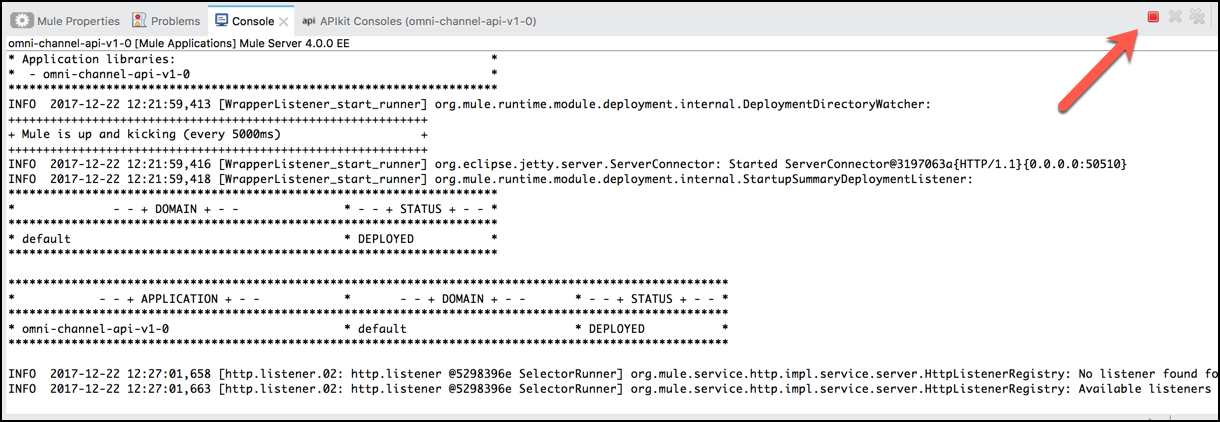
The application will start running, and the console will show the Mule Runtime logs
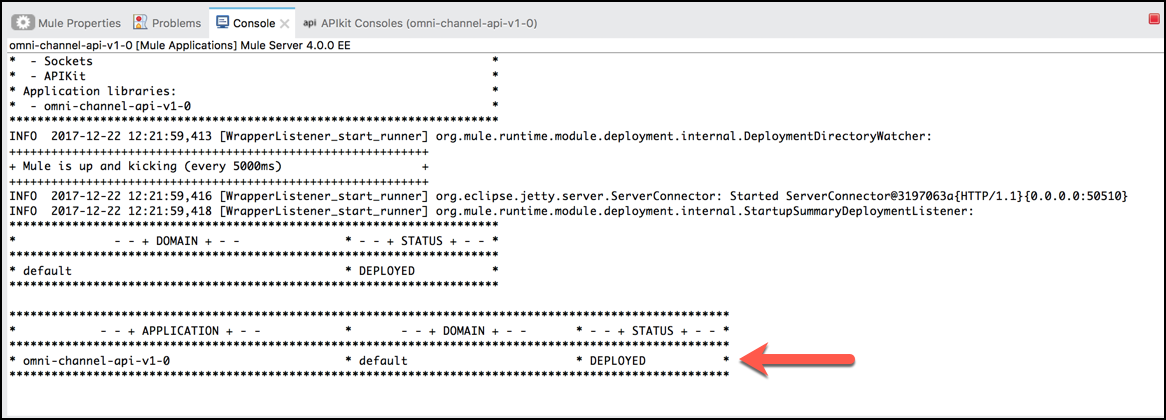
Anypoint Studio deployed this application to an embedded Mule Runtime. There is no need to deploy to a separate Mule server environment. The developer will be able to develop and test the application locally until it’s ready to be deployed to a shared development or QA environment. . Test the application using the console. Click button Open Console on the APIkit Console tab.
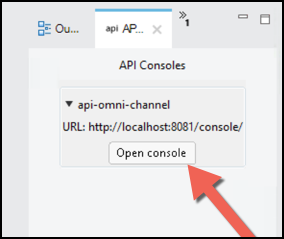
A browser window opens at: http://localhost:8081/console/.
Click open the
/products/searchresource on the left and clickGET.Click the
SENDbutton on the bottom right to submit the request.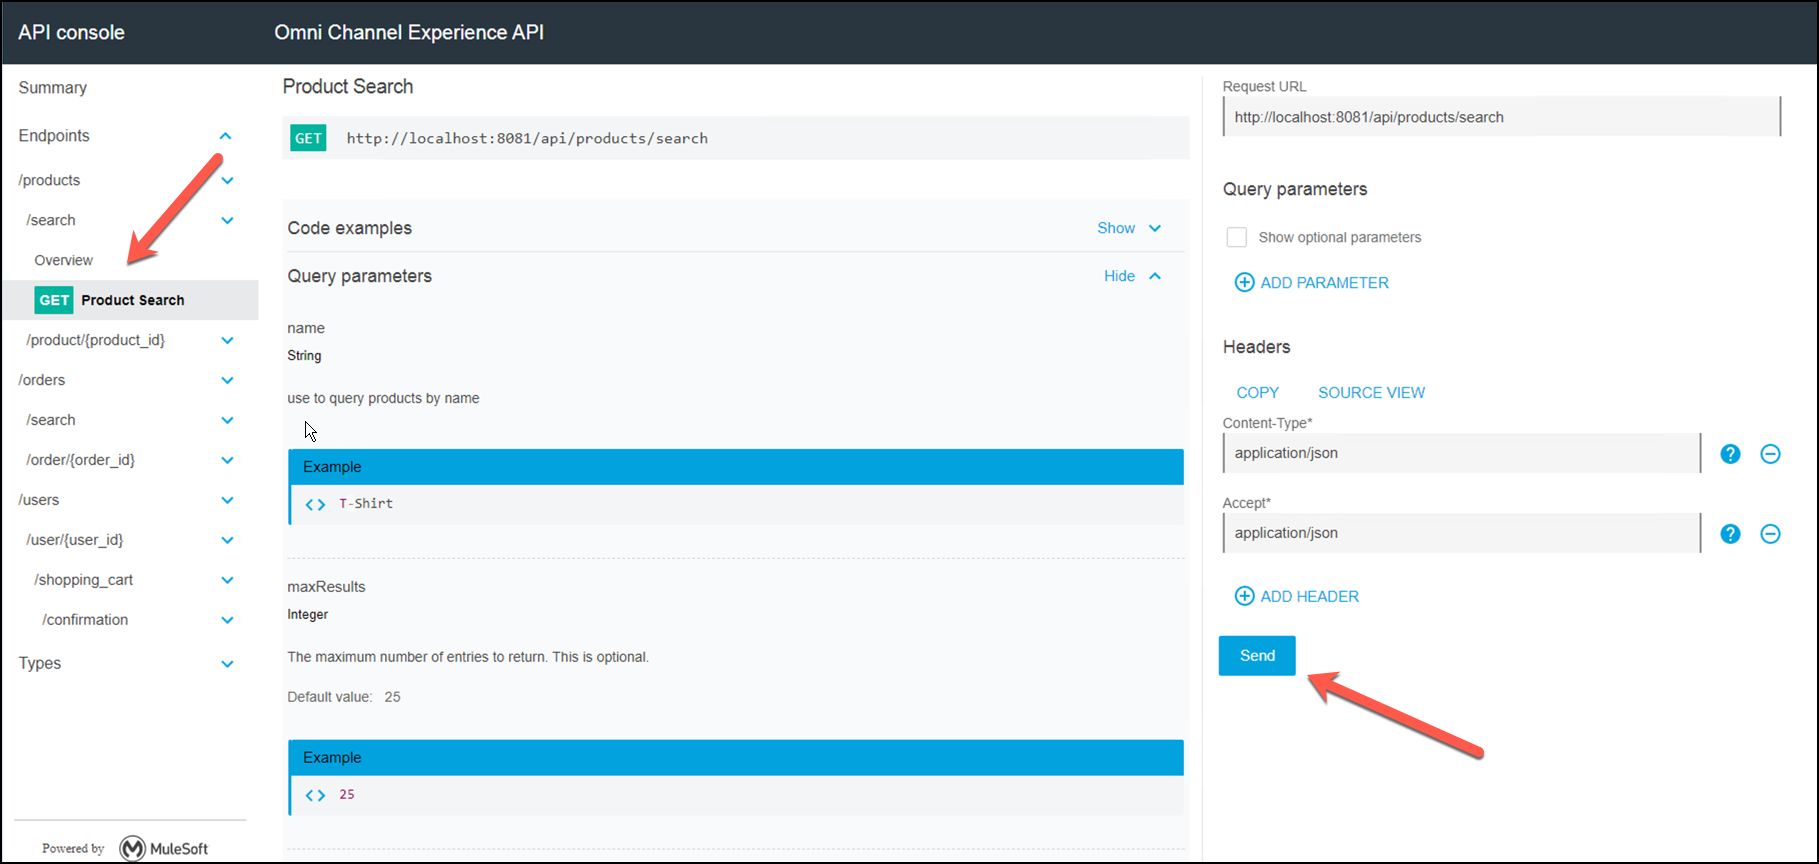
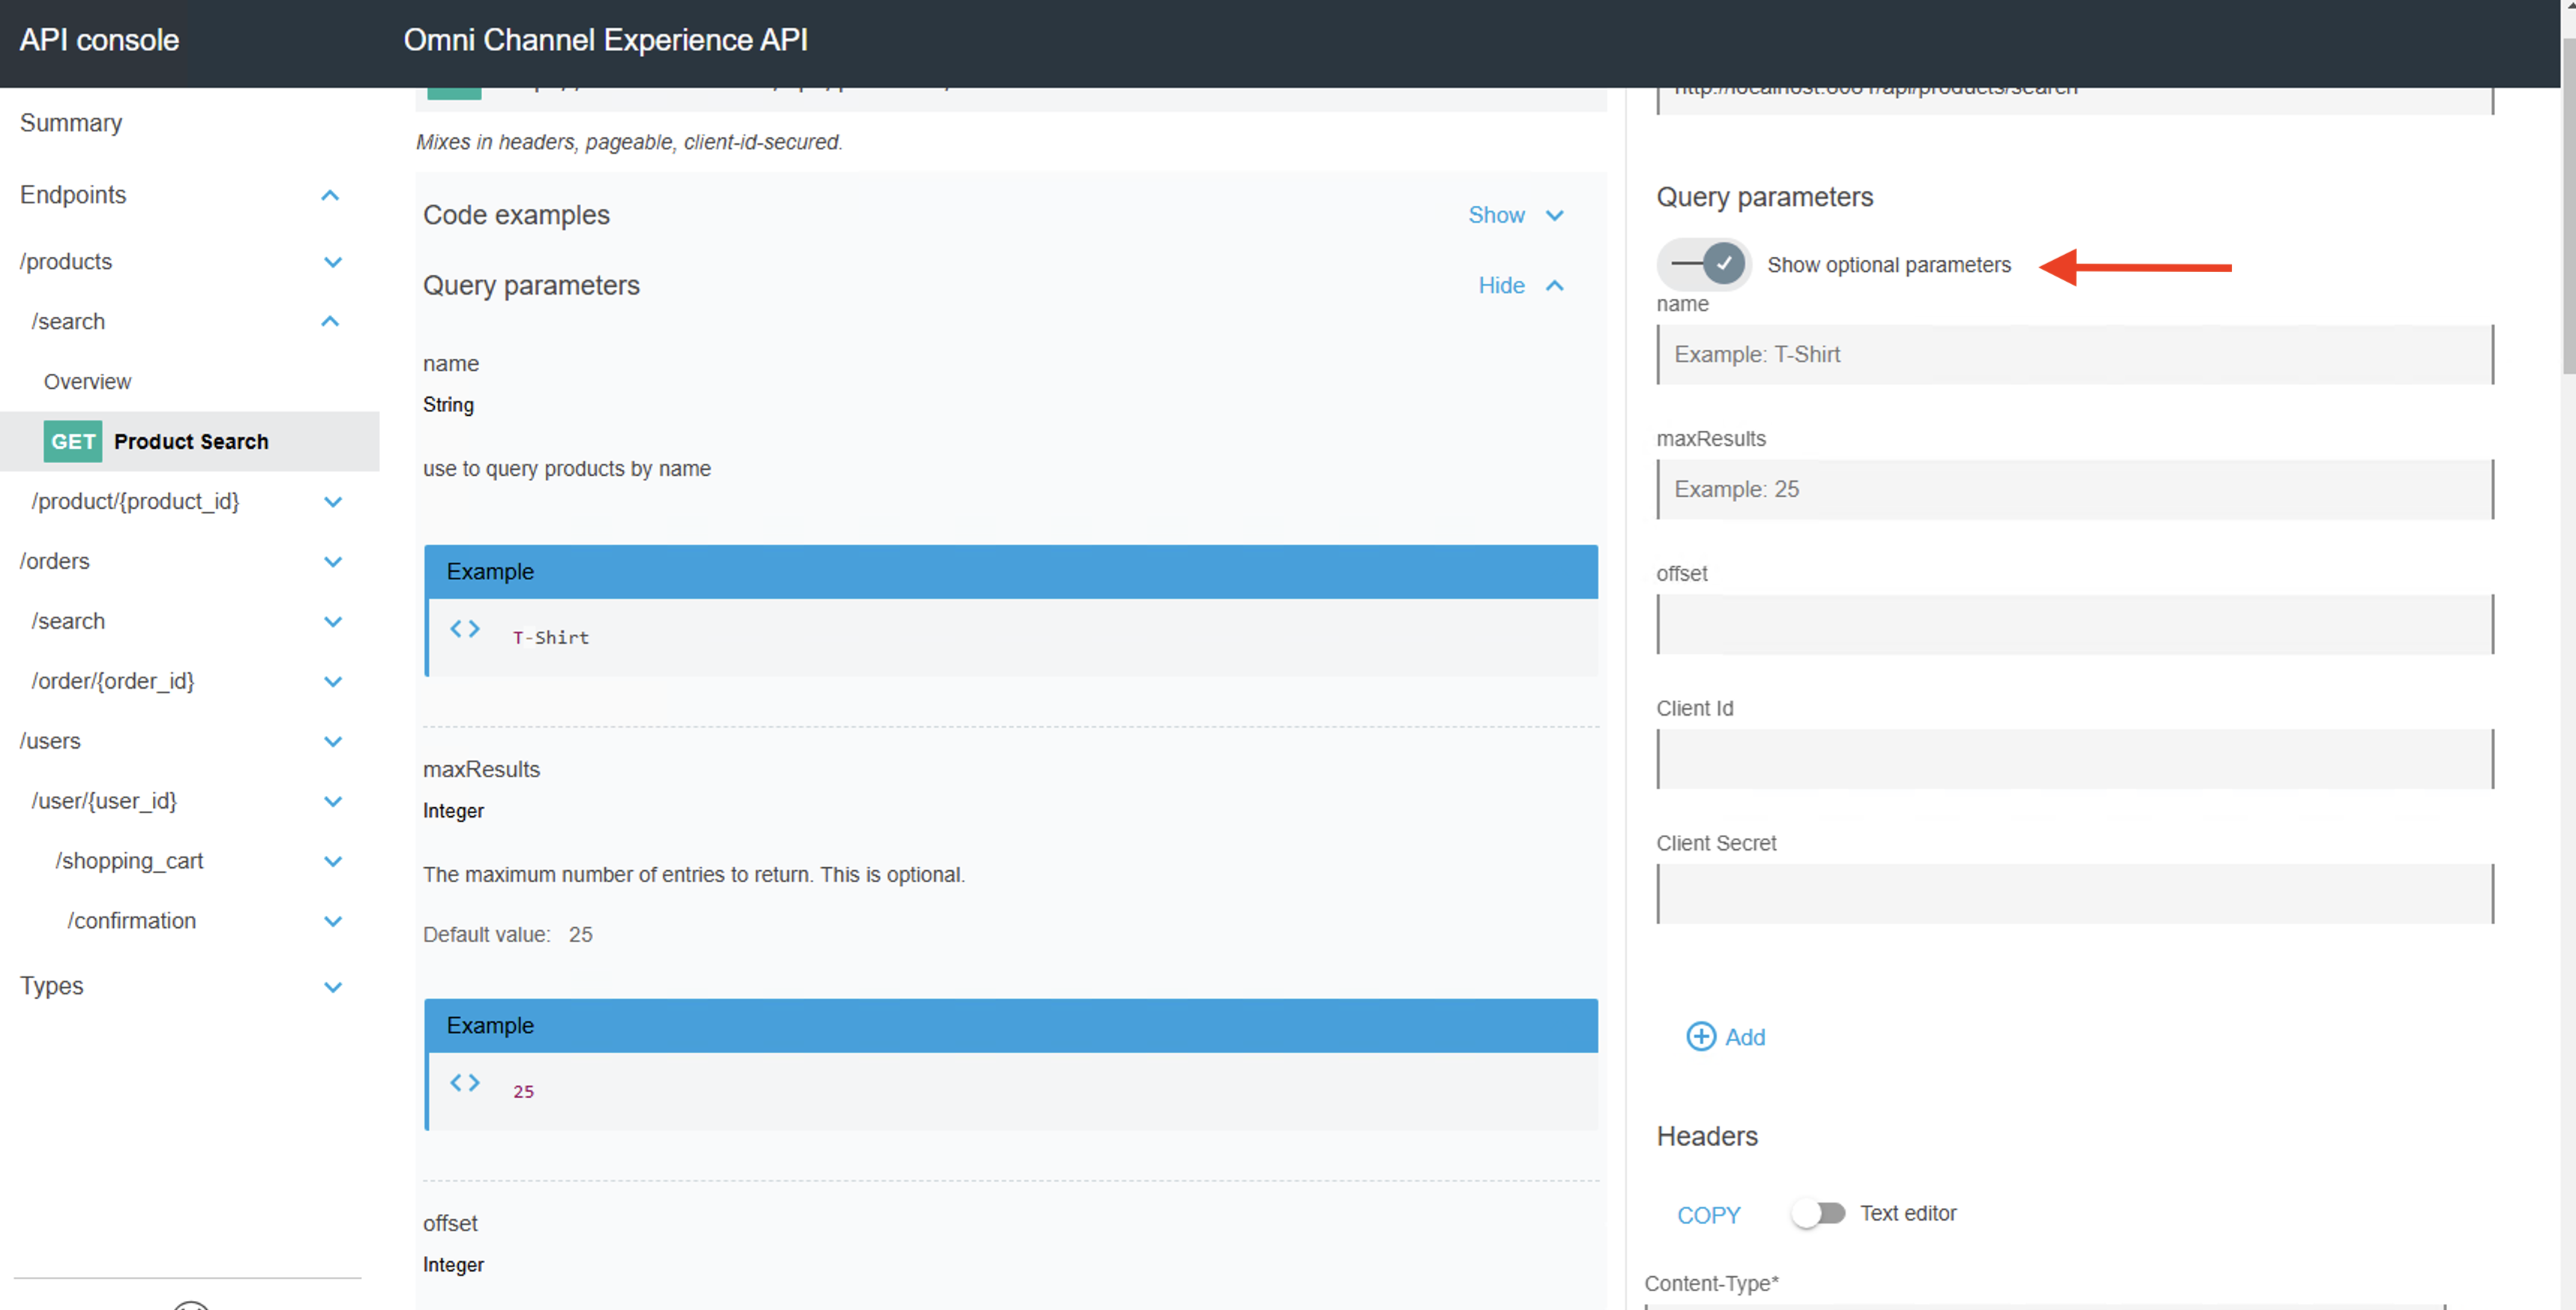
Now tick the Show optional parameters (if disabled), fill any parameter with any value and click on SEND again.
Scrolling down the third panel, you will see the mocked data that is defined in the imported RAML.
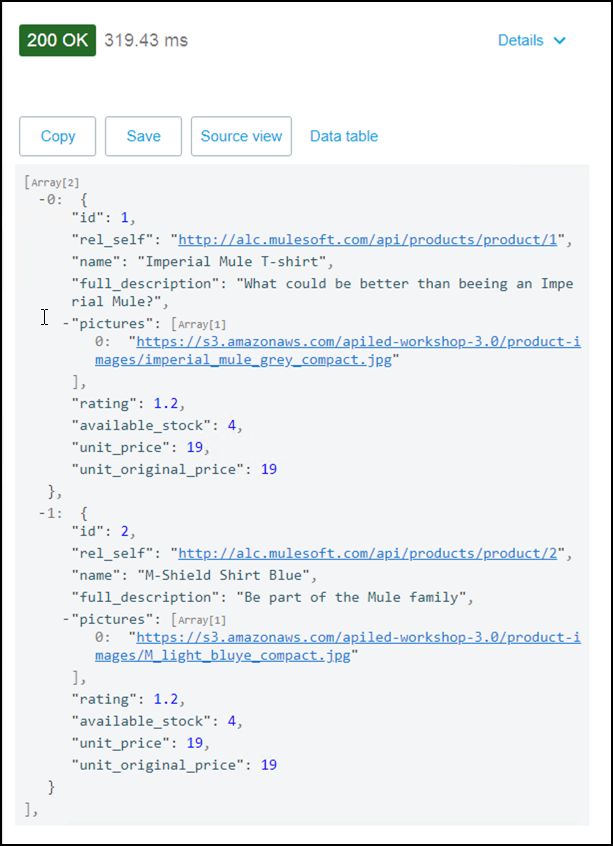
It is a live application deployed to the Mule runtime server but it is leveraging the RAML information to provide a “mocking” experience.
Let’s go ahead and stop the application to get ready for the next lab.
Go to the console tab and press the red squared button to stop the Mule runtime server.
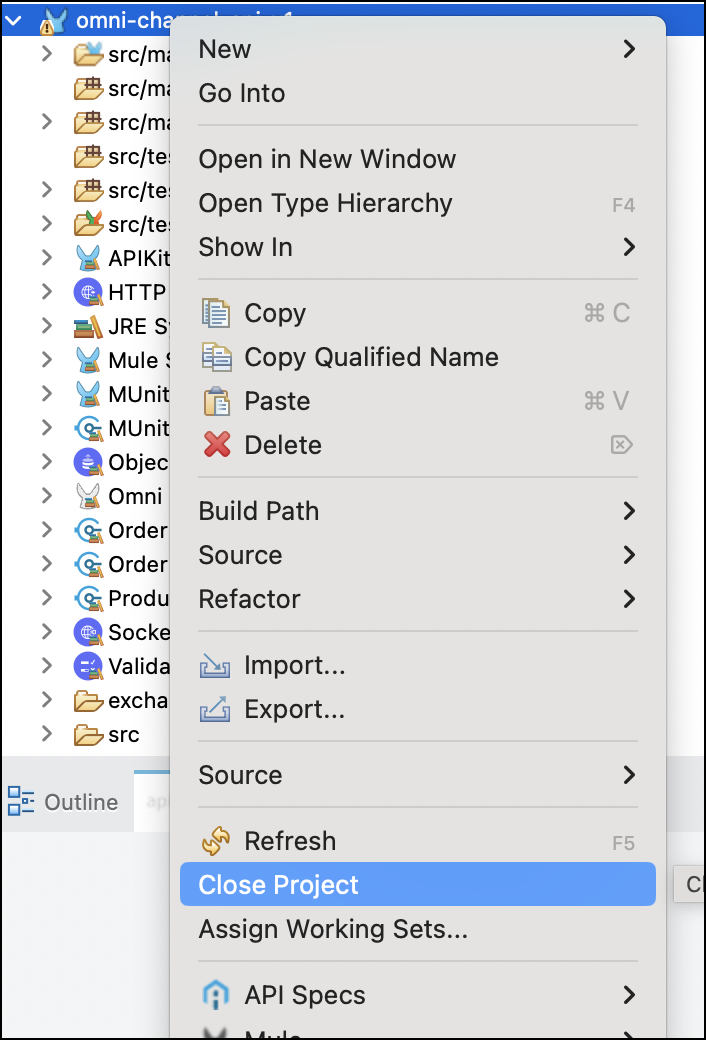
Right click on the project and close it
Summary
In this lab, we
- Downloaded the API definition directly into Anypoint Studio and added as a dependency
- Used the RAML specification to generate the initial implementation skeleton for the API.
- Auto-generated a skeleton project to implement the API.
This lab shows how APIkit quickly allows developers to import the designed REST API (RAML and supporting artifacts) to enable rapid API logic implementation in the generated MuleSoft flows. The APIkit also deploys the interactive console with the MuleSoft flows. The lab shows the extent to which a developer can deploy an on-premise and interactive API from the API specification in RAML.
It is important to note that the implementation of an API is a real MuleSoft application and allowed us to test the end-to-end API. Building integration applications and exposing APIs do not require additional knowledge making it easy for MuleSoft developers to work on both integrations and APIs.
- See the APIkit documentation for more information.
- See the Import an API Specification from Exchange documentation for more information.
- See the Anypoint Exchange documentation for more information.
- See the Error-Handling documentation for more information.
Congratulations! You have completed Lab 1.
Please proceed to Lab 2