- Overview
- Step 1: Add Try Scope
- Step 2: Catch the Error
- Step 3: Log Salesforce Response
- Step 4: Raise a new Error
- Step 5: Handle a new Error
- Summary
Lab 3: Run the Mule app from Anypoint Studio
Overview
In Lab 2, you built the flow that will create a new user. If there’s an error in Salesforce, you’ll receive a Bad Request. This error message doesn’t give you full visibility into what really happened. In this lab you are going to learn how to Handle errors.
Step 1: Add Try Scope
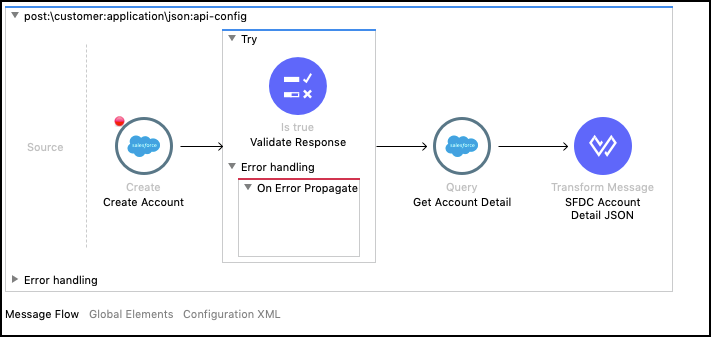
The Try scope enables you to handle errors that may occur when attempting to execute any of the components inside the Try scope.
Go to the palette and search for the Try component.
Insert the Try component after the Salesforce connector.
Move the Validation icon inside the Try component.

Step 2: Catch the Error
When you handle the error you have two options.
On Error Continue: This will catch the error and continue with the flow execution.
On Error Propagate: This option will catch the error, but will throw it up.
You could eventually use one or the other depending on the error type.
In this case, we are going to propagate the error.
To do that, we are going to add an On Error Propagate handler to the Error handling part.
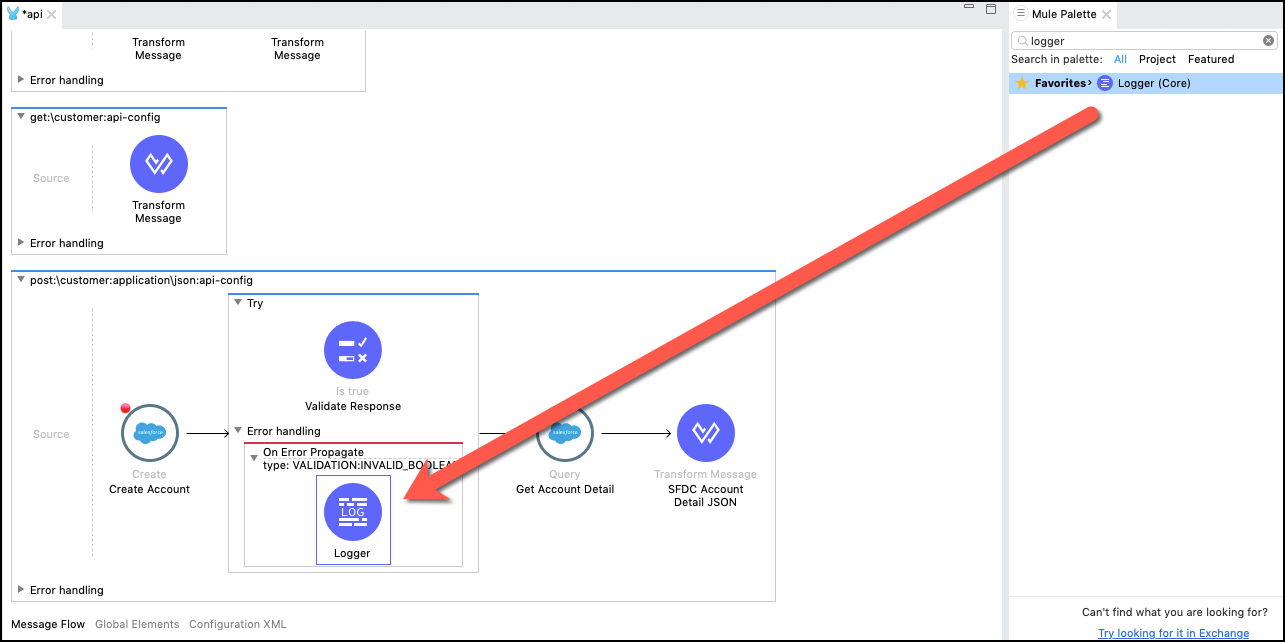
Go to the palette and search for On Error Propagate. Drag and Drop the component inside the Error handling part.
Click on the component.
In the Type section click the magnifier glass on the right
Select
VALIDATION:INVALID_BOOLEAN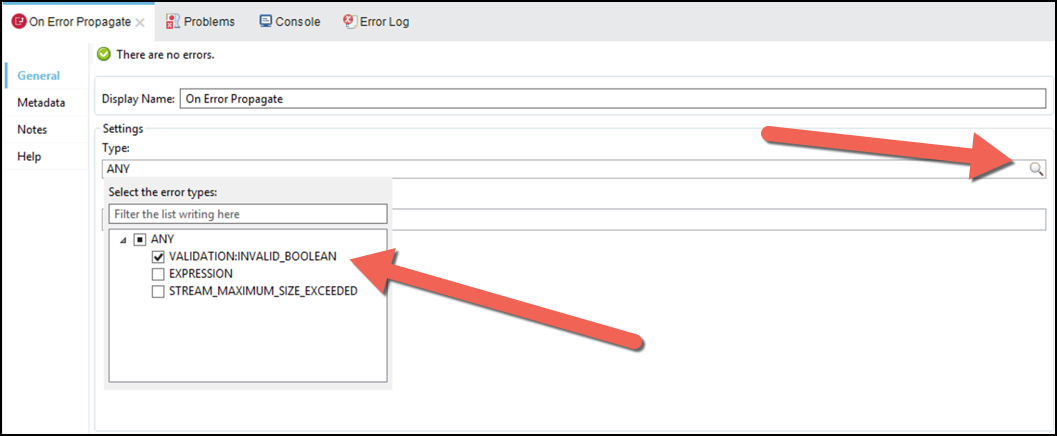
Step 3: Log Salesforce Response
In this step, the idea is to log the Salesforce Response.
Add a Logger component to log the response.
Configure the component with the value
output application/json --- payload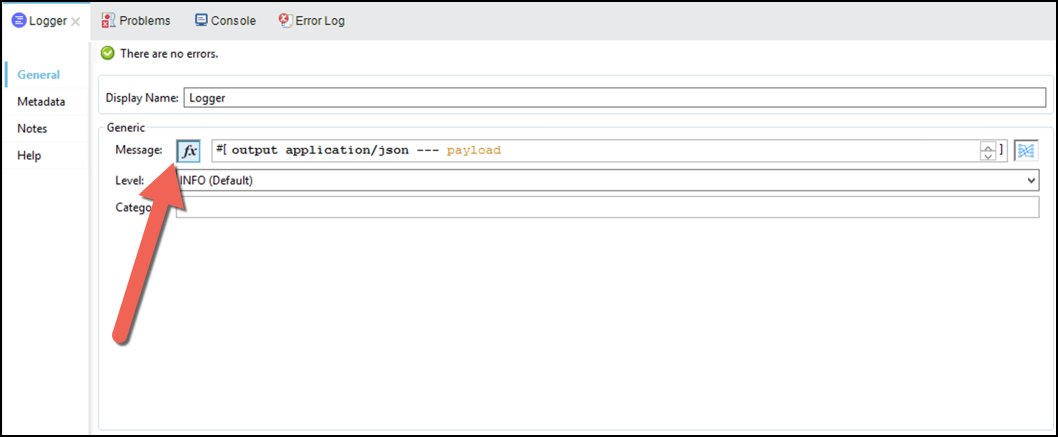
When you press the f(x) button, you will see that a
#[]is added to the field. This is because we are going to use a dataweave expression to log the Salesforce response.
Step 4: Raise a new Error
After logging the response, we are going to raise a new error
Search for Raise Error component and insert after the logger.
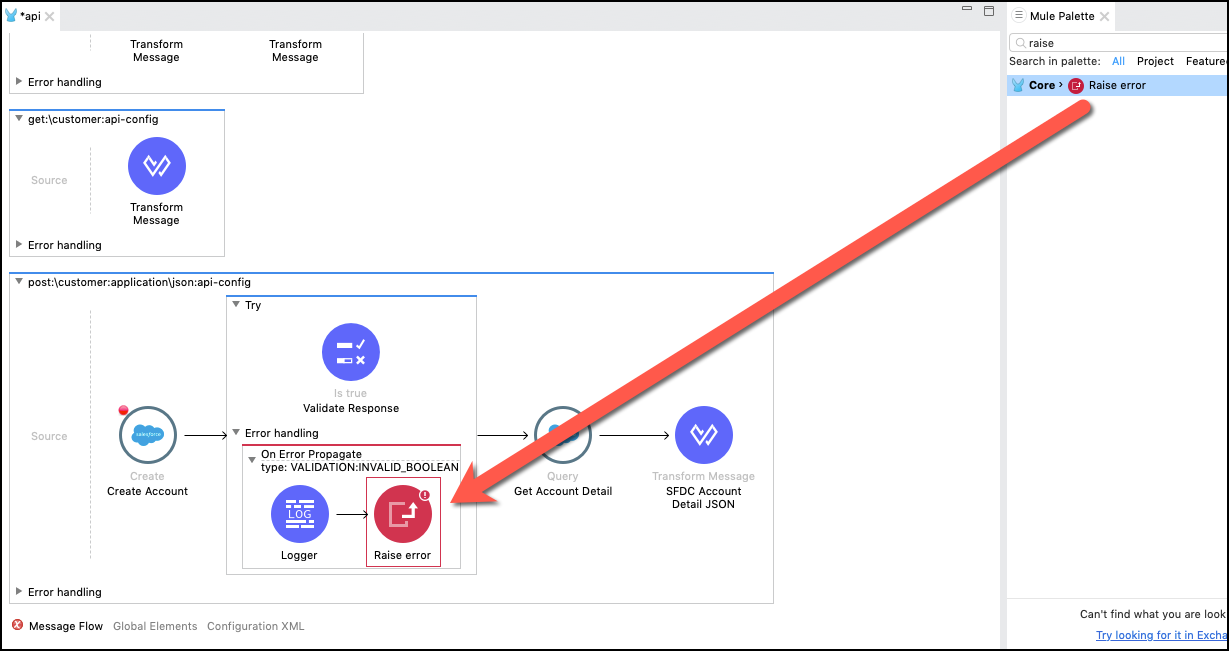
Configure the component with the following values:
Type:
APP:CONFLICTDescription:
#[error.description]In the last step, we are raising a new error type called APP:CONFLICT and we are populating the details, with the Salesforce error message.
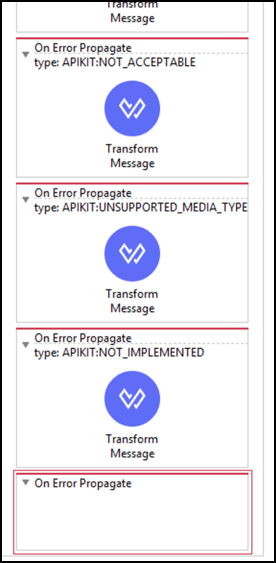
Step 5: Handle a new Error
Now we are going to build the Response for this exception.
Go to the APIKit Error handling. Add an On Error Propagate component at the bottom.
Click on the Component and configure the Type value with
APP:CONFLICT.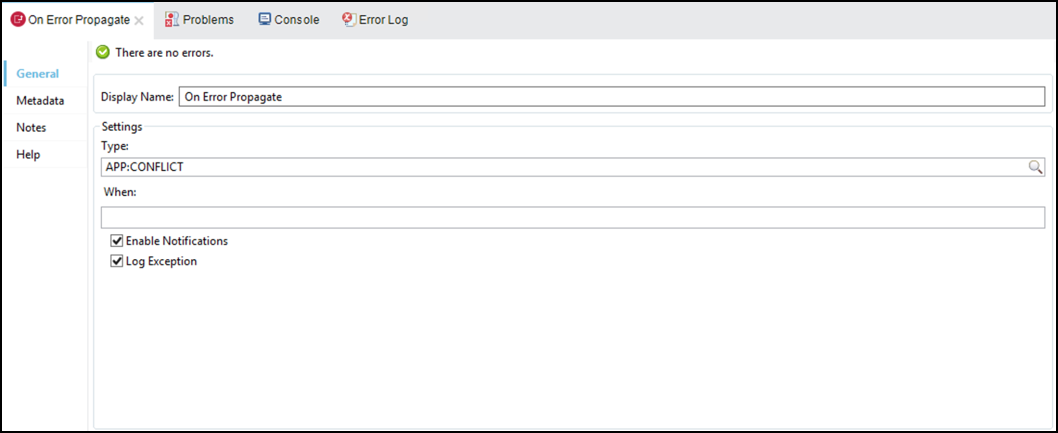
Add a Transform component inside the On Error Propagate.
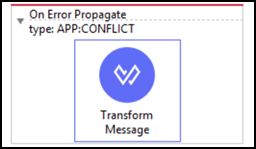
Add the following transformation
     %dw 2.0
     output application/json
     ---
     {message: error.description}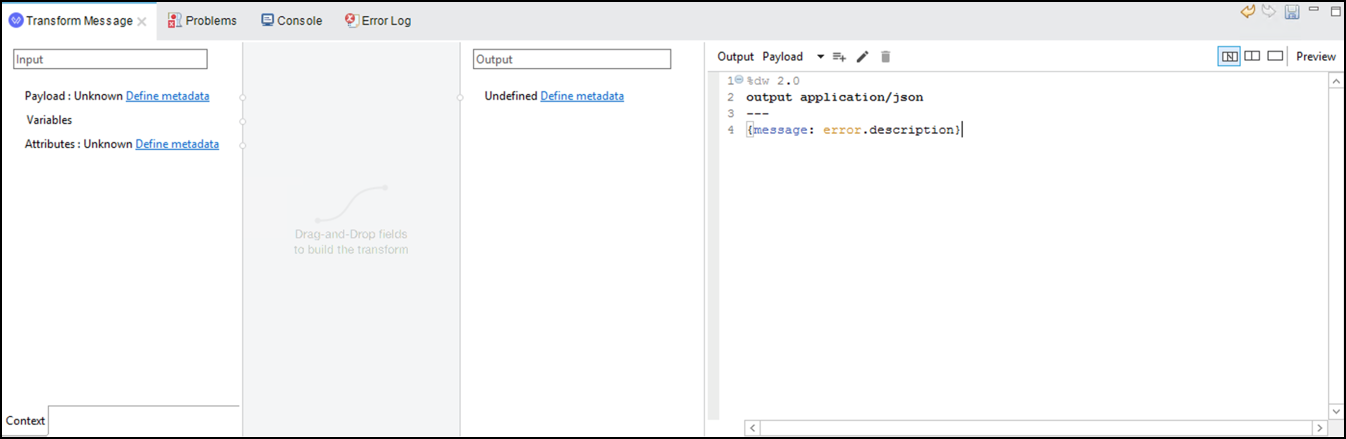
We are mapping the description message we set in the Raised Error component. If you want to see the complete error object, you can add a logger before the transformation.
We also need to set the http status code. To do that we are going to add a variable inside the transformation component
Click on the
 inside the transformation component.
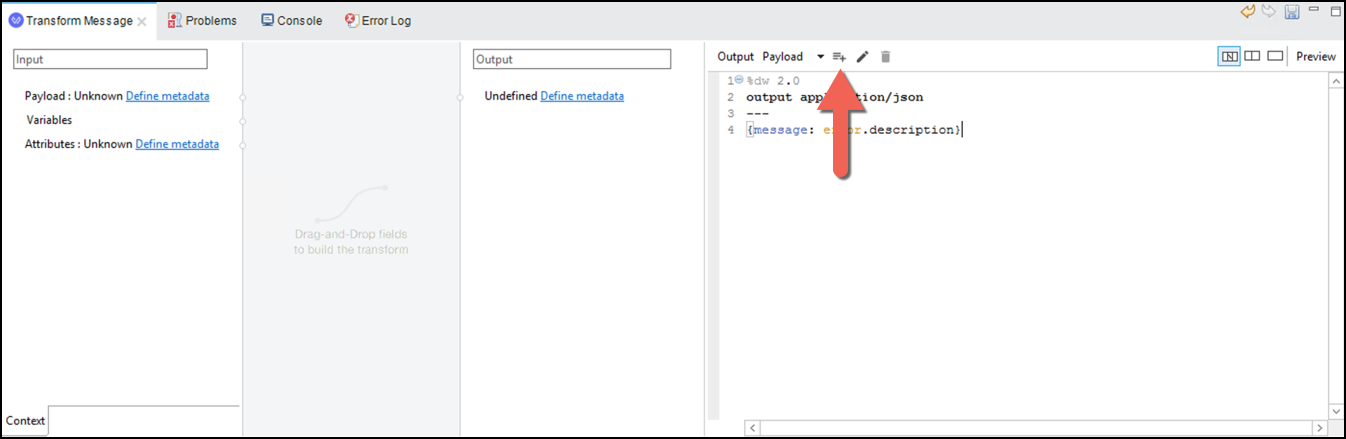
A new window will appear
Select
Variablein the combo and writehttpStatusas Variable Name.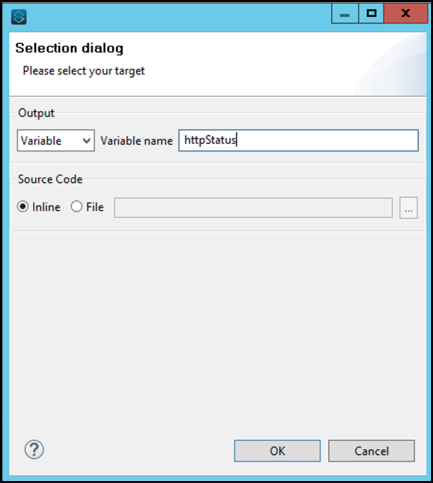
Click OK.
Remove the script and only add
409.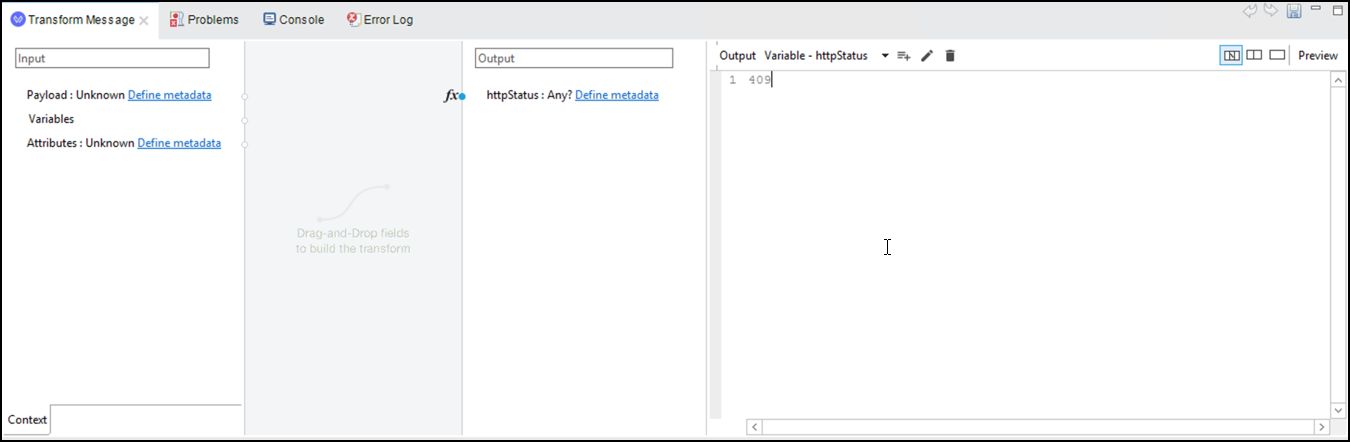
Save all the changes then run the project again and try to create a user twice. You should receive
409as a response.
Summary
In this lab, we have achieved the following:
Add Try Scope
Catch the error
Log Salesforce response
Raise a new Error
Handle a new Error
Go Further:
See the link Try Scope for more information
See the link Raise Error Component for more module3_lab2_error_mapping_transformation
See the link Error Handling for more information
Congratulations! You have completed Lab 4.